First Finger Foods: The Complete Safety and Preparation Guide
Here’s something they don’t tell you in those baby books: Your baby’s trachea—the little tube that keeps them breathing—is about the width of their pinky fingernail. I learned this at 2 a.m. one night, frantically Googling “avocado choking hazard” with my six-month-old daughter sleeping peacefully beside me, blissfully unaware that her mama was spiraling into every worst-case scenario the internet had to offer.
That moment changed everything for me. Because here’s the truth nobody wants to say out loud: introducing finger foods is terrifying. You’re basically handing your baby—who just yesterday couldn’t even sit up—pieces of food and trusting them to figure it out. It feels like the most unnatural thing in the world, even though it’s literally what humans have been doing for millennia.
But after months of research, conversations with pediatric feeding therapists, one CPR certification course, and watching my daughter go from cautiously gumming banana strips to confidently munching on sweet potato fries, I learned something crucial: the fear is normal, but it doesn’t have to control you. What you need isn’t less anxiety—you need more knowledge. Real, practical, no-nonsense information about what actually keeps babies safe when they’re learning to eat.
Quick Safety Check: Is Your Baby Ready?
Click each milestone below to reveal if your baby shows signs of readiness:
Note: Most babies show these signs around 6 months, but every child develops at their own pace. Always consult your pediatrician before starting solids.
So let’s talk about what actually matters. Not Instagram-perfect baby-led weaning spreads or complicated feeding philosophies. Just the real, evidence-based information that will help you introduce finger foods safely, confidently, and without losing sleep Googling at 2 a.m.
The Truth About Choking vs. Gagging (And Why You Need to Know the Difference)
The first time my daughter gagged on a piece of steamed broccoli, I almost launched myself across the kitchen table. My heart stopped. My hands were already reaching for her when she coughed twice, looked at me like I was crazy, and kept eating.
Gagging is not choking. In fact, gagging is exactly what’s supposed to happen when babies are learning to eat. It’s their built-in safety mechanism—their gag reflex sits further forward on their tongue than ours, which means it triggers more easily and prevents food from going too far back.
The Critical Differences
✅ GAGGING (Normal & Protective)
- Baby is coughing or making noise
- Skin color stays normal
- Eyes may water but baby is responsive
- They can breathe and usually self-correct
- What to do: Stay calm, encourage them, let them work it out
⚠️ CHOKING (Emergency)
- Silent—baby can’t cough or cry
- Skin may turn blue or purple
- Unable to breathe
- Panicked expression, grabbing at throat
- What to do: Immediate back blows/chest thrusts, call 911
Here’s what shocked me when I spoke with a pediatric feeding therapist: studies show that babies doing baby-led weaning don’t choke more than spoon-fed babies. In fact, research from 2024 found choking rates were nearly identical—5.4% for spoon-fed children versus 6.9% for baby-led weaning. The difference? Parents doing baby-led weaning tend to be more educated about safe food preparation because they have to be.
That’s the whole point of this guide. Because whether you’re doing traditional weaning or baby-led weaning or some combination, the safety principles are the same.
The Finger Food Timeline: What to Serve (and How to Cut It) by Age
Let me save you hours of confusion: the age guidelines aren’t just random numbers. They’re based on your baby’s developing motor skills, and understanding this progression is the key to serving food safely.
Interactive Age-Based Food Sizer
Select your baby’s age to see exactly how to cut and serve foods safely:
The Shape and Size Rules That Actually Matter
I used to think food safety was complicated until a feeding therapist gave me this visual: Your baby’s windpipe is roughly the diameter of a drinking straw. Suddenly, every cutting decision made sense.
The most dangerous foods aren’t what you’d expect. It’s not about soft versus hard—it’s about shape, size, and texture combination. Here’s what actually causes problems:
❌ The High-Risk Hall of Shame
COMPLETELY AVOID (Under 4 years):
- Whole grapes — Cut lengthwise into quarters, not rounds
- Hot dogs/sausages — If serving, slice lengthwise then into small pieces
- Raw carrots/apples — Must be cooked until mashable or grated
- Popcorn, nuts, seeds — Wait until after age 4
- Hard candy, gum — Not appropriate for toddlers
- Chunks of peanut butter — Always spread thin or mix into food
- Cherry/grape tomatoes (whole) — Quarter them
MODIFY BEFORE SERVING:
- Slippery foods (banana, avocado, mango) — Roll in crushed cereal, ground coconut, or cornmeal
- Tough skins (sausage, grape, tomato) — Always remove completely
- Leafy greens — Finely chop or cook until very soft (think callaloo consistency)
- Bread — Can form sticky balls; toast it or choose dense types
- Dried fruit — Rehydrate or chop very fine
The Golden Shape Rules
- Round = Danger — Round foods can plug the airway perfectly. Always cut round foods into quarters or strips.
- Cylinder = Modify — Hot dogs, sausages, even banana rounds can be risky. Cut lengthwise first, then into pieces.
- Hard + Round = Never — This combination (whole nuts, raw peas, hard candy) is the most dangerous.
- Sticky + Thick = Caution — Thick nut butter or sticky rice balls can adhere to the throat. Thin spreads or mix thoroughly.
The Mistakes I Made (So You Don’t Have To)
Look, I’m going to be honest with you. I messed up. Multiple times. And I’m sharing these because the mistakes parents make with finger foods aren’t usually about the foods themselves—they’re about preparation, timing, and supervision.
The 7 Most Common Finger Food Mistakes
Mistake #1: Adding Chunks to Purees
I thought I was being clever by adding small chunks to smooth sweet potato puree to “introduce texture.” Wrong. Mixed textures require advanced oral motor skills babies don’t have yet.
✓ Better approach: Keep textures consistent within each food. Offer smooth purees OR finger foods, not combinations until 10+ months.
Mistake #2: Keeping Baby Too “Clean”
I wiped my daughter’s hands constantly during her first meals. Turns out, babies need to get messy—it’s how they learn food properties and develop sensory tolerance.
✓ Better approach: Put a splash mat down, strip baby to a diaper if needed, and let them explore. Wipe at the END of the meal.
Mistake #3: Sticking to Bland Foods Too Long
I was terrified to add spices, so everything was aggressively plain for months. Then I learned: the 6-12 month window is when babies are MOST open to flavors. Miss it, and pickiness sets in.
✓ Better approach: Use herbs and mild spices from the start—cinnamon, nutmeg, thyme, garlic powder. Your baby can handle way more flavor than you think. The Caribbean Baby Food Recipe Book has a month-by-month spice introduction guide that saved me.
Mistake #4: Hovering Too Much
My hand was constantly hovering near my baby’s mouth, ready to intervene. This actually made things worse—she’d startle when I’d reach for her.
✓ Better approach: Sit at baby’s level, stay close, but keep your hands to yourself unless there’s actual choking (not gagging). Your calm presence is what they need.
Mistake #5: Forgetting the Water Rule
I didn’t offer water with meals initially because “babies get hydration from milk.” But water helps clear the mouth between bites and develops healthy habits.
✓ Better approach: Offer small sips of water throughout the meal in an open cup or straw cup. Not a bottle.
Mistake #6: Putting Food Directly in Baby’s Mouth
Sometimes I’d place food on her tongue to “help.” Big mistake. Babies need to control food from the front of their mouth backward—it’s how they learn to prevent choking.
✓ Better approach: Place food on their tray. Always. Even if it means they’ll squish it, drop it, or ignore it for ten minutes.
Mistake #7: Feeding While Distracted
I tried giving finger foods in the car seat during errands. Never again. Choking risk skyrockets when babies aren’t upright and focused on eating.
✓ Better approach: Food happens in the high chair, upright, with supervision. No screens, no toys, no car seats. Period.

Your First Week Game Plan
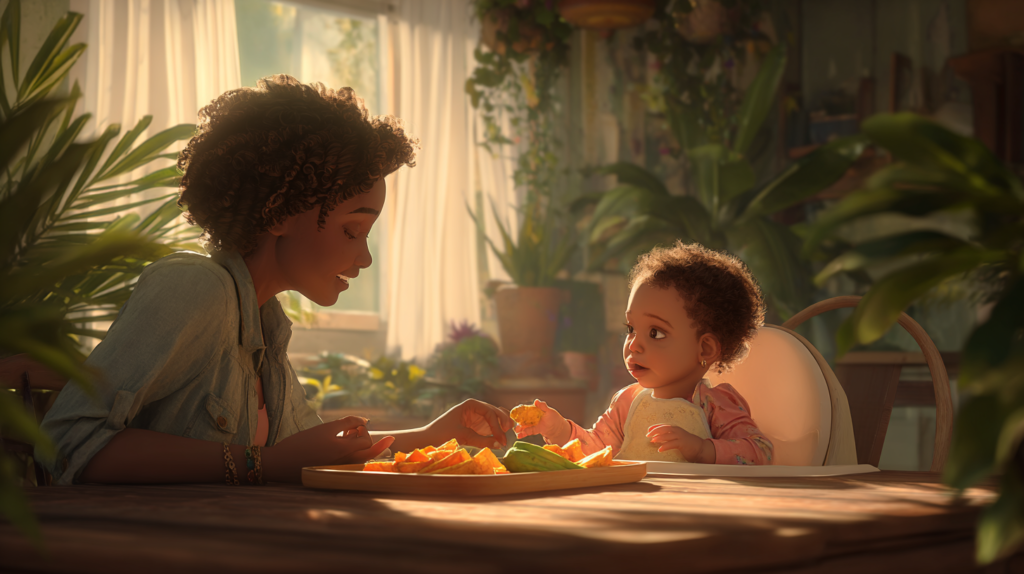
Alright, theory is great, but let’s talk about what actually happens when you sit down with your baby and a piece of steamed sweet potato. Because I remember that first meal. I remember thinking, “Okay, now what?”
Here’s your realistic first-week plan, not from a textbook, but from someone who survived it with a daughter who now eats curry goat like it’s going out of style.
Your 7-Day Finger Food Launch Plan
Click each day to reveal what to serve and what to expect:
Week 2 and Beyond: Start introducing Caribbean flavors! Mild seasonings, coconut milk-based dishes, soft ground provisions. The Caribbean Baby Food Recipe Book has progression plans for recipes like Coconut Rice & Red Peas (6+ months), Plantain Paradise (6+ months), and Sweet Potato & Callaloo Rundown (7+ months) that make introducing cultural foods easy and safe.
The Emergency Prep Nobody Talks About
Here’s what I wish someone had told me before day one: You need to know what to do if choking happens before it happens. Not in theory. Not from reading. You need muscle memory.
I took an infant CPR course when my daughter was five months old. Best $50 and two hours I ever spent. Not because I’ve needed to use it (thank God), but because having that knowledge in my body—not just my head—changed everything about my confidence.
Before You Serve a Single Food: Essential Safety Prep
1. Take an Infant CPR & First Aid Course
Where to find: American Red Cross, local hospitals, even online certifications (though in-person is better for hands-on practice)
What you’ll learn: Back blows, chest thrusts, when to call 911, what NOT to do
Cost: Usually $50-75. Worth every single penny for peace of mind.
2. Print and Post Emergency Instructions
Put choking first aid instructions somewhere visible in your kitchen. Not on your phone—if you’re panicking, you won’t find it.
Include: Visual diagrams of back blows, chest thrusts, and when to call 911
Bonus: Share with grandparents, babysitters, anyone who feeds your baby.
3. Have the Right Equipment
- High chair with proper straps — Baby must sit upright, feet supported
- Open cup or straw cup — For water with meals
- Sharp knife — Dull knives are dangerous; you need clean cuts
- Steamer basket — For cooking vegetables to proper softness
4. Test Everything with the “Squish Test”
Before serving any food, press it between your thumb and forefinger. If you can easily squish it, it’s soft enough for a baby to mash with their gums.
Remember: Babies don’t need teeth to eat finger foods—their gums are incredibly strong. But the food must be mashable.
When Culture Meets Safety
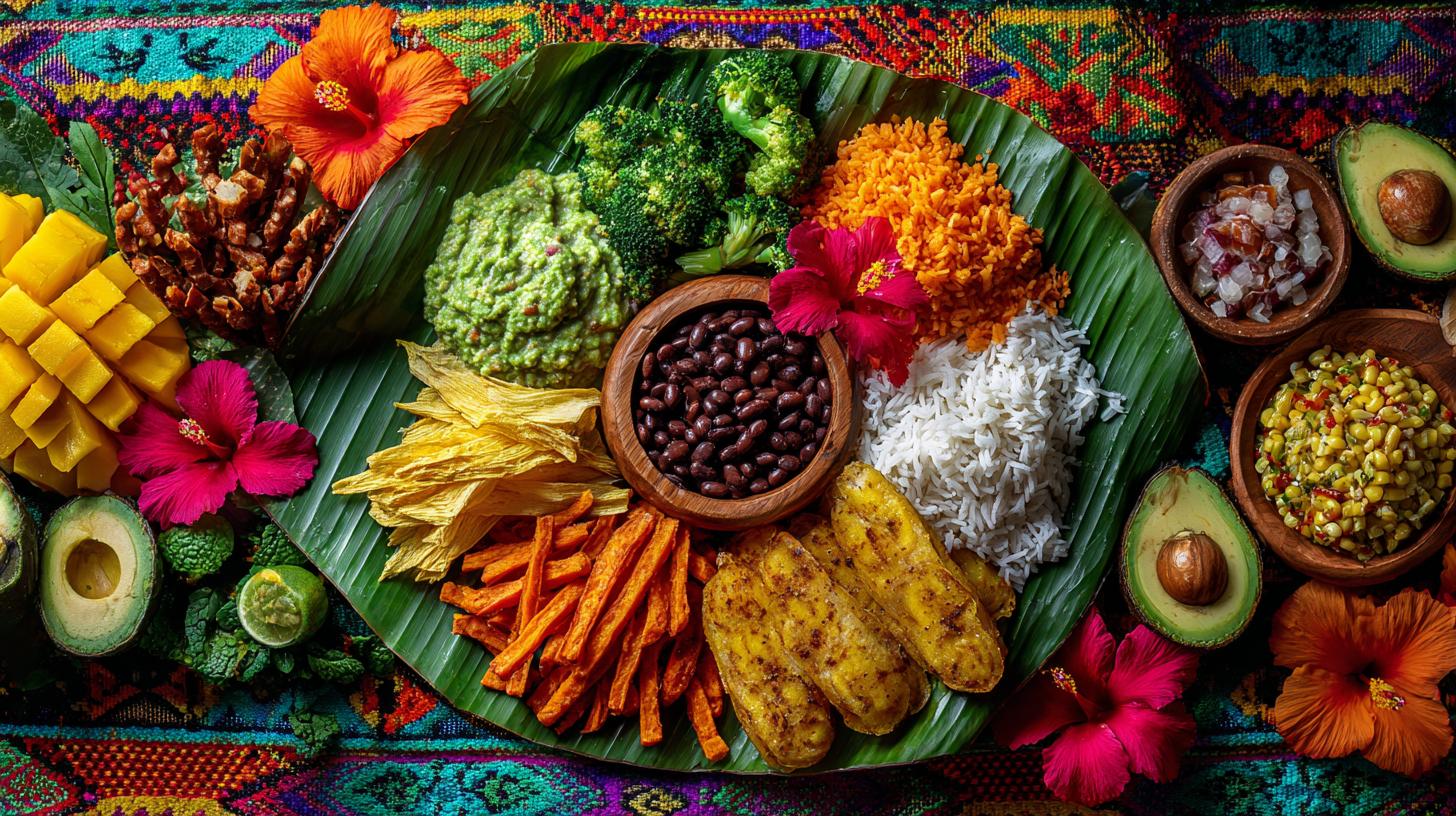
Let me tell you something that surprised me: Caribbean food is actually perfect for baby-led weaning. We grow up thinking baby food has to be bland, Americanized purees. But the foods our grandmothers fed us—ground provisions, soft-cooked legumes, stewed meats, fruit purees—these are ideal first foods.
The key is preparation, not avoidance. Dasheen, eddoes, green fig, ripe plantain, callaloo, pumpkin—all of these become safe, nutritious finger foods when cooked properly and cut appropriately.
Adapting Caribbean Foods for Finger Food Stage
GROUND PROVISIONS
Sweet potato, dasheen, eddoes, yellow yam, cassava
How to prepare: Boil or steam until very soft (should mash easily with a fork). Cut into thick strips for palmer grasp or small cubes for pincer grasp. Can add coconut milk during cooking for extra creaminess and calories.
Try: Yellow Yam & Carrot Sunshine, Sweet Potato & Callaloo Rundown, Cassareep Sweet Potato (12+ months)
PLANTAIN
Green fig (green banana) or ripe plantain
How to prepare: For green: boil until very soft, cut into quarters lengthwise. For ripe: bake or pan-cook until soft, cut into strips. Both are naturally sweet and babies love them.
Try: Plantain Paradise, Zaboca and Green Fig Blend, Mangú Morning (12+ months)
LEGUMES & GRAINS
Red peas, pigeon peas, split peas, rice
How to prepare: Cook until very soft (longer than you’d cook for adults). Mash slightly or serve whole for pincer grasp practice. Mix with coconut milk or soft vegetables.
Try: Coconut Rice & Red Peas, Stewed Peas Comfort, Basic Mixed Dhal Pure
VEGETABLES
Callaloo, pumpkin, cho-cho (chayote), okra
How to prepare: Steam or stew until very tender. Callaloo and pumpkin work great in purees or mixed dishes. Cho-cho can be steamed and cut into strips. Okra needs to be well-cooked and cut small.
Try: Calabaza con Coco, Geera Pumpkin Puree (12+ months), Caraille Green Mix
The beauty of Caribbean cuisine is that we already cook things soft and flavorful. We’re not afraid of seasoning. We understand that food is culture, connection, and love. You’re not just feeding your baby—you’re passing down heritage.
When my daughter first tasted cornmeal porridge with cinnamon and nutmeg, she lit up. Same with her first bite of stewed peas with coconut milk. These weren’t foreign “baby foods”—these were her foods. Her culture. Her identity.
The Permission You’ve Been Waiting For
Here’s what I want you to know, mama: You don’t have to be perfect at this.
You’re going to cut something wrong. You’re going to panic when your baby gags. You’re going to Google “is [insert food] safe for babies” at midnight. You’re going to compare your baby’s eating to someone else’s on Instagram and feel like you’re failing.
All of that is normal. All of that is okay. What matters is that you keep showing up. You keep offering food. You keep learning and adjusting.
Your Confidence Builder
Click to reveal encouraging truths about finger food feeding:
One year from now, your baby will be eating everything. They’ll be reaching for your plate, demanding bites of your curry chicken, smashing plantain into their hair, and you’ll barely remember the anxiety of these early days.
But right now, in this moment, you’re building something incredible. You’re teaching your child to nourish themselves. To explore. To trust their body. To experience the joy and culture and connection that food brings.
That’s not small work. That’s legacy work.
Your Next Steps (The Practical Stuff)
Okay, you’ve read all this information. You’re feeling more confident. Now what?
Here’s your action plan for this week:
✅ Your This-Week Checklist
Sign up for an infant CPR course
Google “[your city] infant CPR” or check American Red Cross. Get your partner/co-parent to join you.
Stock your kitchen with first-week foods
Sweet potatoes, avocados, green bananas/plantains, butternut squash, broccoli. Buy a steamer basket if you don’t have one.
Print choking first aid instructions
Put them on your fridge or near the high chair. Make sure they’re visible and easy to read.
Get recipe ideas that work for your family
If you’re Caribbean or want to introduce those flavors, grab the Caribbean Baby Food Recipe Book. It has 75+ recipes with age progressions, spice guides, and family meal adaptations. (Seriously saved me so much Googling.)
Pick your start date
Choose a day when you’re NOT rushed, stressed, or exhausted. Weekend mornings are great because you have time to focus.
Set up your feeding space
High chair secured, splash mat down, bib ready, water cup accessible. Make cleanup as easy as possible.
And here’s the most important step: Give yourself permission to be imperfect.
This journey isn’t about getting it right every single time. It’s about showing up, staying curious, and trusting that you and your baby will figure this out together.
Because you will. I promise you will.
Ready to Start With Confidence?
Get 75+ age-appropriate Caribbean baby food recipes, complete spice introduction guides, and family meal adaptations that make feeding your baby safe, cultural, and delicious.
Get the Caribbean Baby Food Recipe Book →Includes recipes mentioned in this guide: Plantain Paradise, Yellow Yam & Carrot Sunshine, Coconut Rice & Red Peas, and 70+ more!
One last thing before you go: I’d love to hear about your finger food journey. Drop a comment below and tell me—what’s your biggest fear about starting finger foods? Or if you’ve already started, what surprised you most?
We’re all in this together, learning as we go, figuring it out one steamed sweet potato strip at a time.
You’ve got this, mama. I’m rooting for you.
With love and slightly less anxiety than before,
A fellow parent who’s been exactly where you are
Kelley's culinary creations are a fusion of her Caribbean roots and modern nutritional science, resulting in baby-friendly dishes that are both developmentally appropriate and bursting with flavor. Her expertise in oral motor development and texture progression ensures that every recipe supports your little one's feeding milestones while honoring cultural traditions.
Join Kelley on her flavorful journey as she shares treasured family recipes adapted for tiny taste buds, evidence-based feeding guidance, insightful parenting anecdotes, and the joy of celebrating food, culture, and motherhood. Get ready to immerse yourself in the captivating world of Kelley Black and unlock the vibrant flavors of the Caribbean for your growing baby, one nutritious bite at a time.
- Raising a Sweet- Savvy Kid: How to Grow a Naturally Sensitive Palate (Without a Sugar Battle) - June 29, 2026
- The Sweet Truth Nobody Tells You: Why Your Family’s Sugar Journey Starts With What You Already Love - June 28, 2026
- The Hidden Sodium Crisis in Your Kitchen (And the Flavor Revolution That Saves You) - June 27, 2026