Table of Contents
ToggleDIY Toddler-Friendly Stamps: Shape and Texture Play
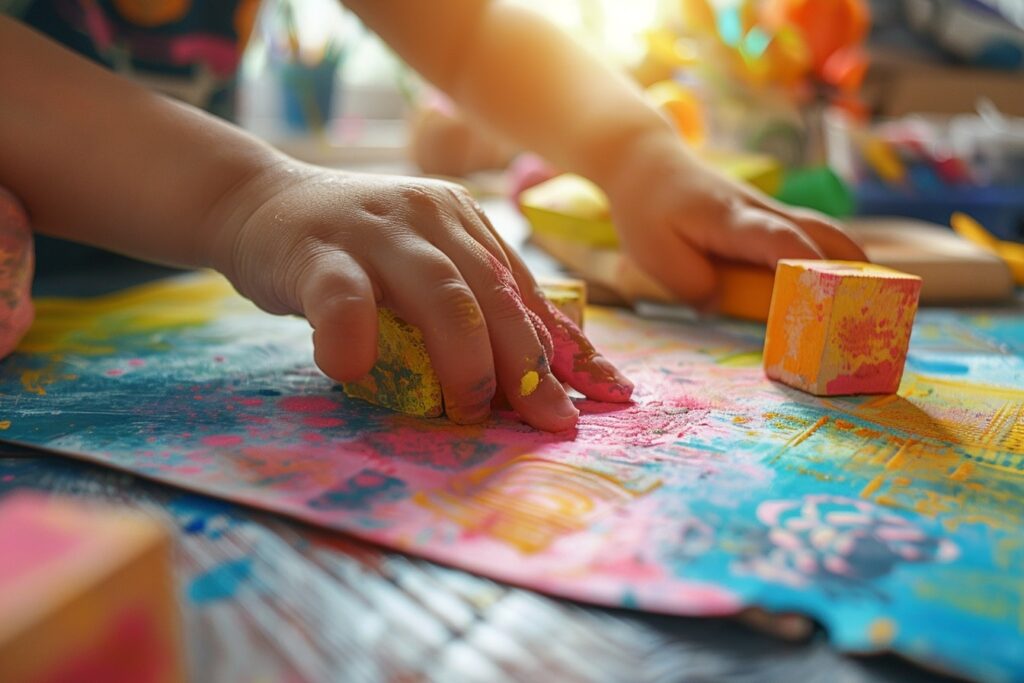
Are you searching for an engaging and enriching activity to share with your little one, one that will not only captivate their imagination but also foster their cognitive and sensory development? Look no further than the delightful world of DIY toddler-friendly stamps. As a parent, I understand the importance of providing our children with opportunities for hands-on exploration and creativity, and shape and texture play offers just that.
Imagine the joy on your toddler’s face as they eagerly reach for a homemade stamp, ready to embark on a journey of discovery. Each press of the stamp onto paper becomes a moment of excitement and wonder, as they explore different shapes and textures with their tiny fingers. But beyond the sheer delight of stamping, there lies a world of learning and growth.
Research has shown that sensory play, such as engaging with various shapes and textures, plays a crucial role in a child’s early development. From honing their fine motor skills to sparking their curiosity and imagination, the benefits are boundless. By introducing toddlers to DIY stamps, we not only provide them with a creative outlet but also lay the foundation for future learning and exploration.
Think back to your own childhood experiences. Perhaps you fondly remember the hours spent creating art with simple materials, or the sense of accomplishment that came with mastering a new skill. Now, imagine passing on those cherished memories to your own child through the magic of shape and texture play.
In this article, we’ll delve into the world of DIY toddler-friendly stamps, exploring everything from the materials needed to the endless possibilities for creative expression. So, grab your little one’s hand and join me on this adventure as we unleash their imagination and watch them flourish through the power of shape and texture play.
Introduction to Shape and Texture Play
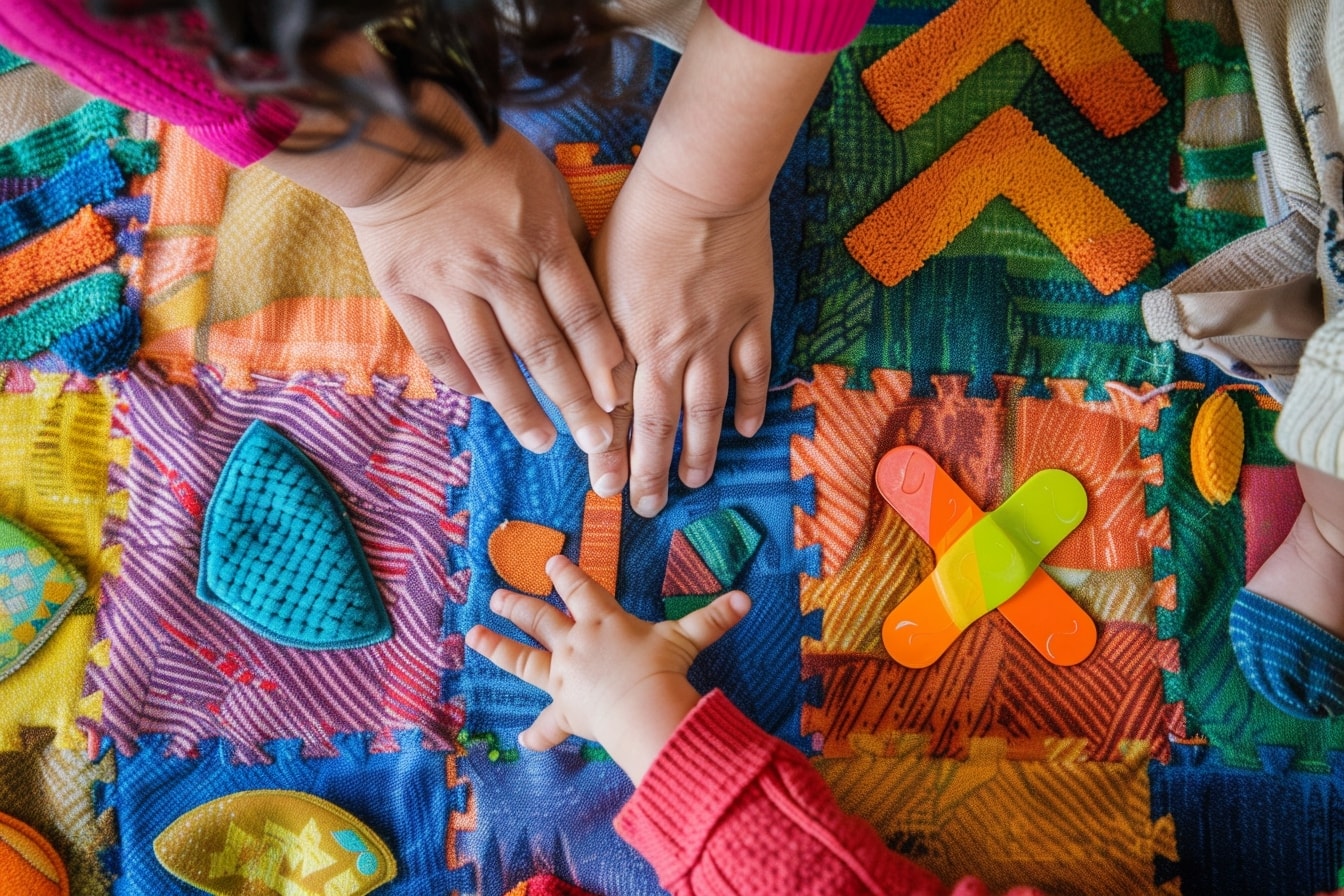
Welcome to the vibrant world of shape and texture play, where toddlers embark on a journey of sensory exploration and creative expression. At its core, shape and texture play is more than just a fun activity—it’s a vital component of early childhood development that lays the groundwork for future learning and growth.
As parents, we understand the importance of providing our little ones with opportunities to engage with the world around them in meaningful ways. From the moment they’re born, children are natural explorers, eagerly reaching out to touch, feel, and interact with their environment. Shape and texture play harnesses this innate curiosity, inviting toddlers to immerse themselves in a world of sights, sounds, and sensations.
But what exactly is shape and texture play, and why is it so crucial for toddler development? At its essence, shape play involves exploring different geometric forms, from simple circles and squares to more intricate shapes like stars and hearts. Meanwhile, texture play revolves around the tactile experience of touching and feeling various surfaces, whether smooth, rough, bumpy, or soft.
By engaging in shape and texture play, toddlers not only sharpen their fine motor skills as they grasp and manipulate objects but also enhance their cognitive abilities as they learn to categorize and differentiate between different shapes and textures. Furthermore, these sensory experiences ignite their imaginations, paving the way for creative thinking and problem-solving skills.
Research has shown that hands-on sensory activities, such as shape and texture play, have numerous benefits for early childhood development. Not only do they stimulate the senses and promote physical coordination, but they also foster emotional regulation and social skills as children learn to communicate and collaborate with others during play.
But perhaps most importantly, shape and texture play lay the foundation for a lifelong love of learning. By providing toddlers with opportunities to explore and experiment in a safe and supportive environment, we instill in them a sense of curiosity and wonder that will serve them well in all areas of their lives.
So, as we embark on this journey of discovery together, let us embrace the magic of shape and texture play and celebrate the boundless potential of our little ones as they explore, create, and learn.
Materials and Tools Needed
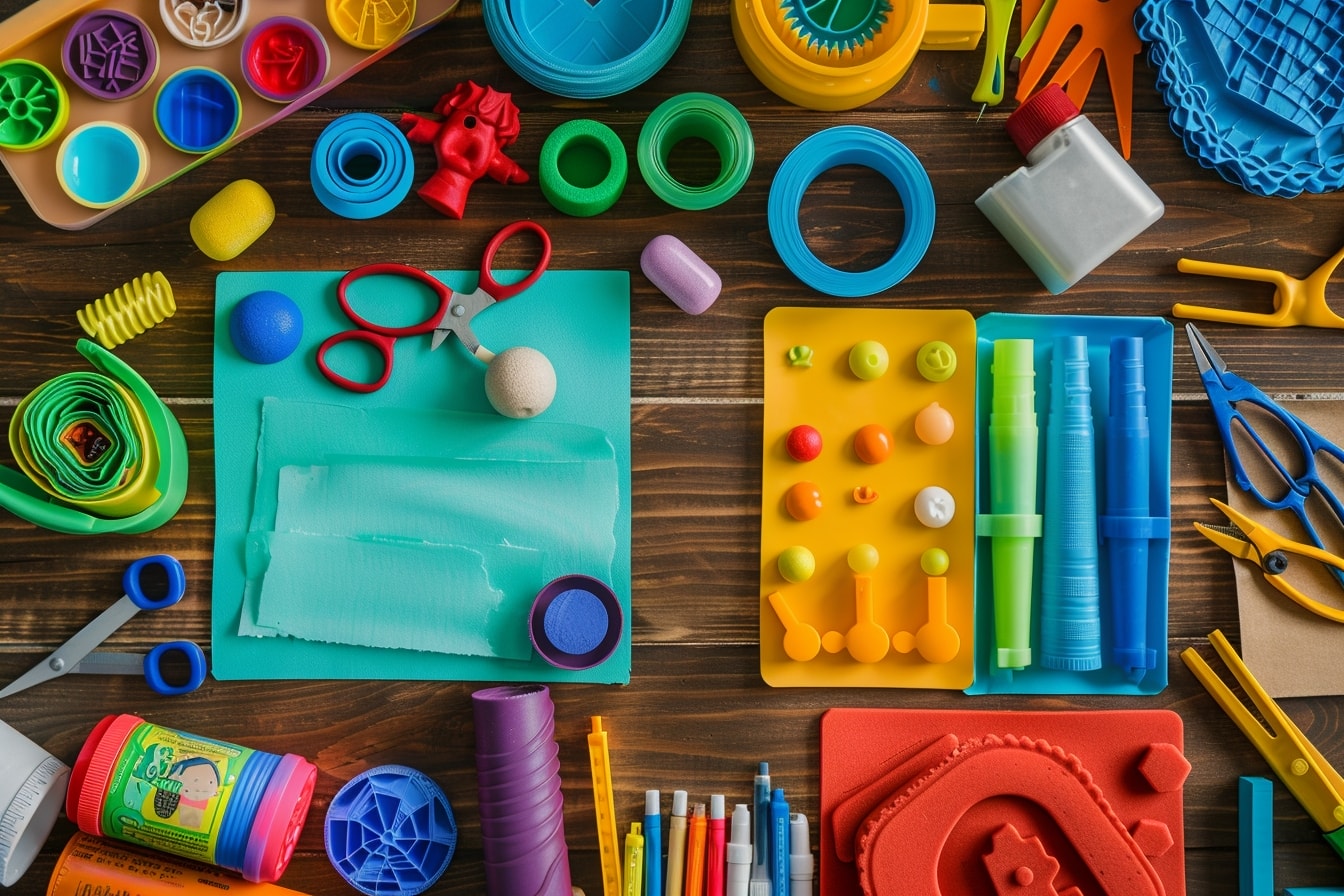
Embarking on the adventure of creating DIY toddler-friendly stamps requires a few key materials and tools to ensure a smooth and enjoyable crafting experience. Let’s gather our supplies and get ready to unleash our creativity!
- Materials:
- 1. Foam sheets or craft foam: These versatile sheets come in various colors and thicknesses and serve as the base for creating your stamps. Opt for thicker foam for durability and ease of handling.
- 2. Cardboard or wooden blocks: These provide a sturdy backing for your foam stamps, ensuring crisp and clean impressions when stamping.
- 3. Craft knife or scissors: Essential for cutting out your desired shapes from the foam sheets. Exercise caution and supervise closely if involving children in the cutting process.
- 4. Glue or adhesive: Choose a strong, non-toxic adhesive to securely attach your foam shapes to the backing material.
- 5. Paint or ink pads: Select child-safe paints or ink pads in vibrant colors to bring your stamps to life. Water-based paints are easy to clean and ideal for young children.
- 6. Paper or cardstock: Provide a variety of paper options for stamping, from plain white paper to colored cardstock or recycled materials.
Now that we’ve gathered our materials, let’s make sure we have the necessary tools on hand to bring our stamping creations to fruition:
- Tools:
- 1. Pencil or marker: Use these to sketch out your desired shapes onto the foam sheets before cutting them out. Encourage children to get creative and experiment with different designs.
- 2. Ruler or straight edge: Helpful for ensuring clean and straight cuts when trimming the foam sheets to size.
- 3. Paintbrushes or sponge daubers: These tools are perfect for applying paint or ink to your stamps, allowing for precise control and coverage.
- 4. Protective covering: Lay down newspaper or a plastic tablecloth to protect your work surface from paint spills and splatters. Remember, creativity can get messy!
- 5. Cleanup supplies: Have a damp cloth or baby wipes on hand for quick and easy cleanup after stamping sessions. Promptly clean and dry your stamps to prolong their lifespan.
With our materials and tools at the ready, we’re all set to embark on our stamp-making adventure. So roll up your sleeves, gather your little ones, and let’s get crafting!
Creating Shape Stamps
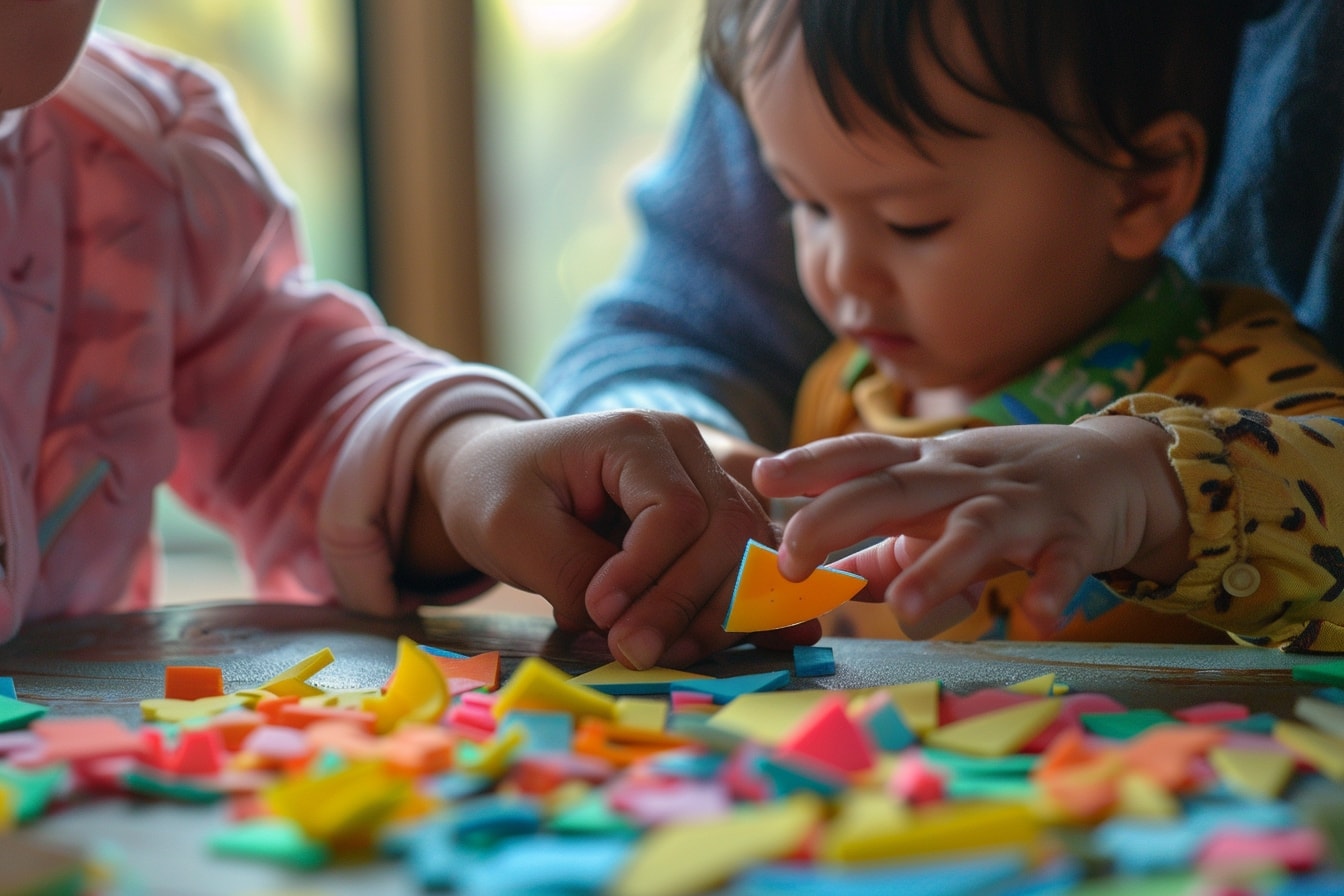
Welcome to the exciting world of creating your own shape stamps—where imagination knows no bounds and every design is a masterpiece waiting to be brought to life. In this section, we’ll dive into the step-by-step process of crafting your very own shape stamps, from selecting the perfect shapes to bringing them to life with vibrant colors.
First things first, let’s gather our materials and get ready to unleash our creativity:
- Materials:
- 1. Foam sheets or craft foam: Choose a selection of colors to suit your stamp designs. Thicker foam provides sturdier stamps, while thinner foam allows for more intricate details.
- 2. Cardboard or wooden blocks: These will serve as the base for your stamps, providing stability and support.
- 3. Craft knife or scissors: Use these tools to carefully cut out your desired shapes from the foam sheets. Remember to supervise closely if involving children in the cutting process.
- 4. Glue or adhesive: Select a strong, non-toxic adhesive to securely attach your foam shapes to the backing material.
- 5. Paint or ink pads: Choose child-safe paints or ink pads in a rainbow of colors to bring your stamps to life.
- 6. Paper or cardstock: Provide a variety of paper options for stamping, from plain white paper to colored cardstock or recycled materials.
Now that we have our materials assembled, it’s time to get creative:
- Sketch Your Designs: Use a pencil or marker to sketch out your desired shapes onto the foam sheets. Encourage children to let their imaginations run wild and experiment with different designs—from simple geometric shapes to more intricate patterns.
- Cut Out Your Shapes: Carefully use a craft knife or scissors to cut along the outlines of your sketched shapes. Take your time and ensure smooth, clean cuts for the best stamping results. Remember, safety first!
- Attach to Backing: Once your shapes are cut out, use glue or adhesive to affix them to the cardboard or wooden blocks. Press firmly and allow time to dry before moving on to the next step.
- Apply Paint or Ink: Now comes the fun part—dip your newly created stamps into paint or ink pads of your choice. Ensure even coverage by dabbing or brushing the paint onto the stamp surface, then press firmly onto your chosen paper or cardstock.
- Experiment and Explore: Don’t be afraid to mix and match colors, shapes, and patterns to create unique stamping designs. Encourage children to explore different stamping techniques and see where their creativity takes them.
With a little bit of imagination and a whole lot of creativity, you’ll soon have a collection of one-of-a-kind shape stamps ready to adorn your artwork and spark joy in the hearts of young and old alike. So gather your supplies, roll up your sleeves, and let the stamping adventures begin!
Exploring Texture Stamps
Welcome to the captivating world of texture stamps, where everyday objects transform into tools of artistic expression and sensory exploration. In this section, we’ll dive into the delightful process of creating and using texture stamps to add depth, dimension, and tactile delight to your artwork.
But first, let’s gather our materials and prepare to embark on our texture stamping adventure:
- Materials:
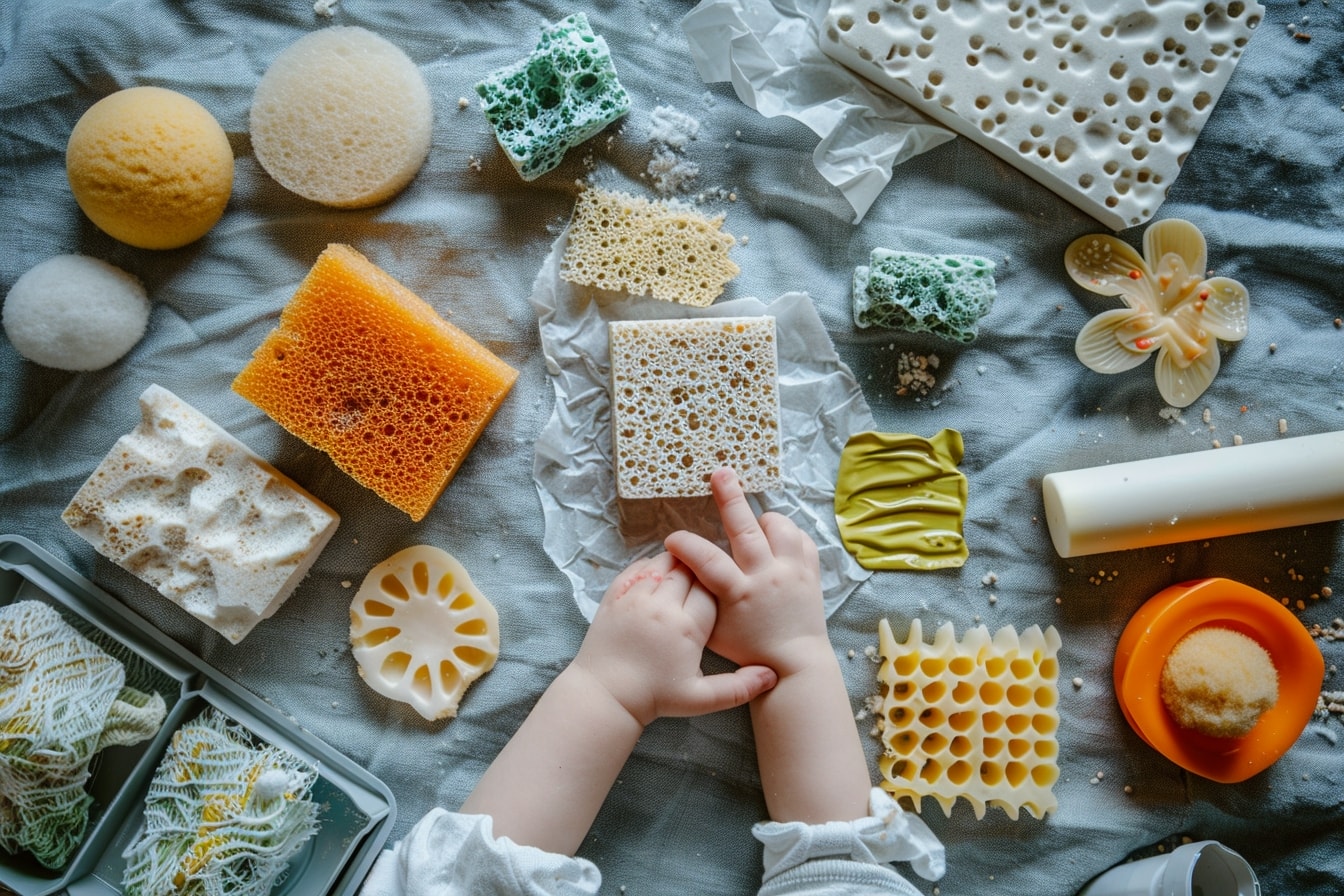
- 1. Household items: Raid your kitchen, bathroom, and craft room for a variety of everyday objects with interesting textures. Think sponges, bubble wrap, corrugated cardboard, and even pasta shapes!
- 2. Cardboard or wooden blocks: These will serve as the base for your texture stamps, providing a sturdy surface for imprinting.
- 3. Craft glue or adhesive: Select a strong adhesive to securely attach your chosen textures to the backing material.
- 4. Paint or ink pads: Choose a selection of colors to complement your texture stamps and add visual interest to your artwork.
- 5. Paper or cardstock: Provide a variety of paper options for stamping, from plain white paper to textured cardstock or recycled materials.
Now that we have our materials in hand, let’s explore the fascinating process of creating texture stamps:
- Select Your Textures: Take a moment to gather an assortment of household items with interesting textures. Encourage children to use their senses to explore the different textures and select their favorites.
- Prepare Your Backing: Cut cardboard or wooden blocks to size to serve as the base for your texture stamps. Ensure they are clean and dry before proceeding.
- Attach Your Textures: Use craft glue or adhesive to securely attach your chosen textures to the backing material. Press firmly and allow time to dry before moving on to the next step.
- Apply Paint or Ink: Now comes the fun part—dip your newly created texture stamps into paint or ink pads of your choice. Ensure even coverage by dabbing or brushing the paint onto the stamp surface, then press firmly onto your chosen paper or cardstock.
- Explore and Experiment: Let your creativity run wild as you experiment with different textures and color combinations. Encourage children to use their imaginations and explore the endless possibilities for artistic expression.
As you delve into the world of texture stamping, you’ll discover a treasure trove of sensory delights and artistic inspiration. From the satisfying crunch of corrugated cardboard to the bubbly bounce of bubble wrap, each texture tells its own unique story and adds a layer of richness to your artwork.
So gather your household items, roll up your sleeves, and prepare to embark on a tactile journey of creativity and exploration. With texture stamps as your guide, the possibilities are endless!
Engaging Toddler in Stamping Activities
Are you ready to embark on a stamping adventure with your little one? In this section, we’ll explore a variety of engaging activities and creative ideas to make stamping sessions fun, educational, and memorable for toddlers of all ages.
But first, let’s gather our supplies and prepare for a world of stamping excitement:
- Materials:
- 1. DIY stamps: Bring out the shape and texture stamps you’ve created together, along with a selection of paint or ink pads in vibrant colors.
- 2. Paper or cardstock: Provide a variety of paper options for stamping, from plain white paper to colored cardstock or recycled materials.
- 3. Protective covering: Lay down newspaper or a plastic tablecloth to protect your work surface from paint spills and splatters. Remember, creativity can get messy!
- 4. Cleanup supplies: Have a damp cloth or baby wipes on hand for quick and easy cleanup after stamping sessions. Promptly clean and dry your stamps to prolong their lifespan.
Now that we’re all set up, let the stamping fun begin:
- Storytime Stamping: Incorporate storytelling into your stamping activities by creating themed art projects inspired by favorite storybooks. Encourage children to stamp characters, objects, and scenes from the story onto paper, then use their imagination to continue the story through drawing or storytelling.
- Nature Stamp Scavenger Hunt: Take your stamping adventures outdoors and go on a nature stamp scavenger hunt. Explore your backyard or local park to find natural objects with interesting textures, such as leaves, flowers, or tree bark. Use these objects to create unique texture stamps, then stamp them onto paper to create nature-inspired artwork.
- Sensory Stamping Play: Turn stamping into a sensory experience by incorporating different materials and textures into your stamping activities. Provide a variety of stamping surfaces, such as sandpaper, fabric scraps, or textured foam sheets, and encourage children to explore the different sensations as they stamp.
- Stamping Station Rotation: Set up a stamping station with different themed stamp sets and stamping materials, and let children rotate through the station at their own pace. Include prompts or inspiration cards to spark creativity and encourage children to experiment with different stamping techniques and designs.
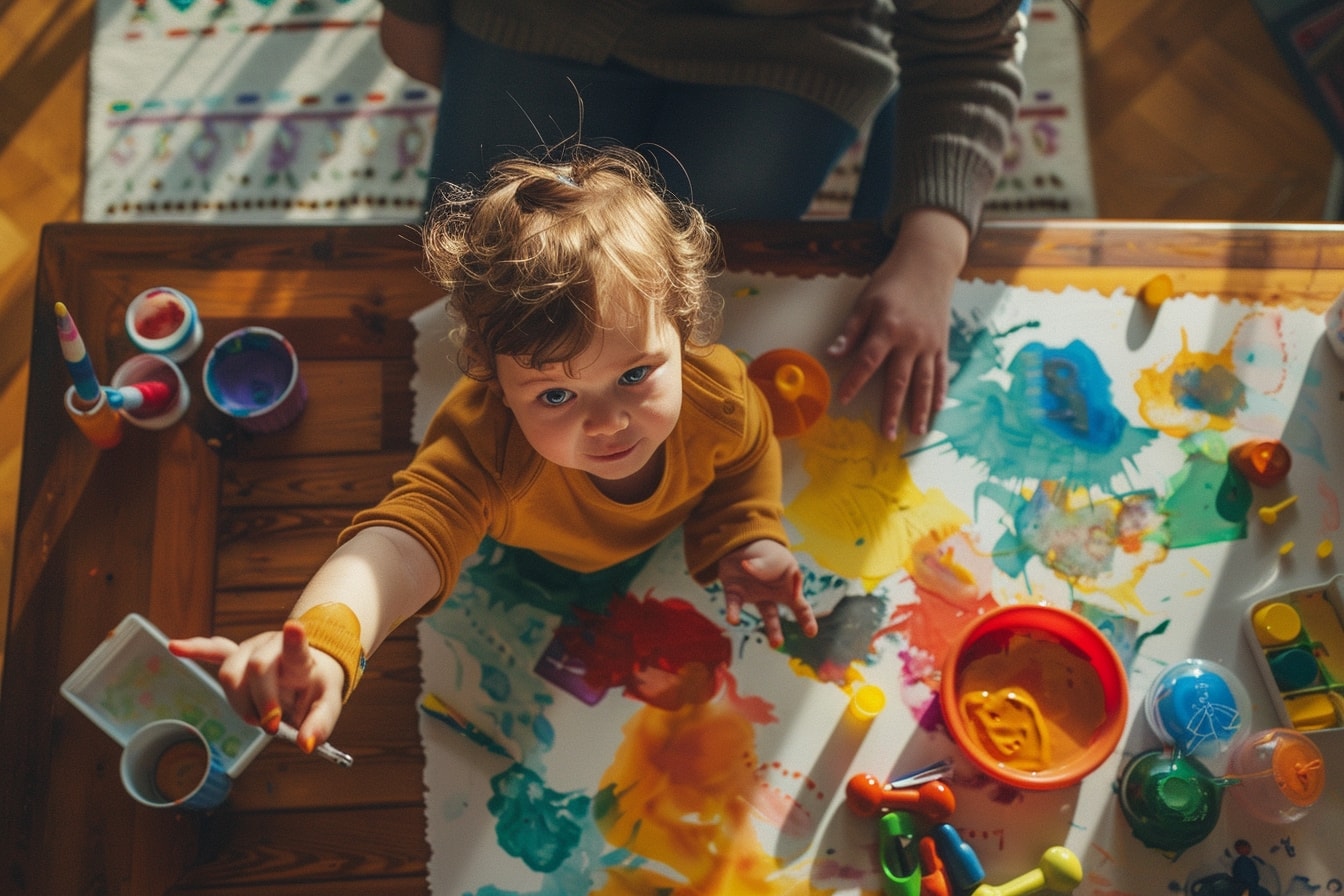
- Stamping Collaborative Art: Foster teamwork and collaboration by creating a collaborative stamping art project with your little one. Start with a large piece of paper or cardboard and take turns adding stamped shapes and textures to create a colorful masterpiece together.
As you explore these engaging stamping activities with your toddler, remember to celebrate their creativity and encourage them to express themselves freely through art. Whether they’re stamping shapes, textures, or their own unique creations, the most important thing is to have fun and enjoy the journey together.
So gather your stamps, roll out the paper, and let the stamping adventures begin!
As we come to the end of our stamping adventure, let’s take a moment to reflect on the journey we’ve embarked upon and the valuable lessons we’ve learned along the way. From creating DIY shape and texture stamps to engaging toddlers in stamping activities, we’ve explored the boundless possibilities of hands-on creativity and sensory exploration.
Throughout this article, we’ve witnessed the joy and excitement that shape and texture play brings to young children, igniting their imaginations and fostering their cognitive and motor skills development. Through stamping activities, toddlers have discovered the thrill of artistic expression and the satisfaction of creating something uniquely their own.
But beyond the fun and laughter, there lies a deeper significance to our stamping adventures. We’ve discovered that shape and texture play is not just about creating art—it’s about nurturing a love of learning, fostering creativity, and strengthening the bond between parent and child.
As we bid farewell to our stamping journey, let us carry forward the lessons learned and the memories made. Let us continue to embrace the magic of shape and texture play in our everyday lives, finding joy in the simple pleasures of creativity and exploration.
And so, I invite you to take what you’ve learned here today and continue to spark curiosity, inspire imagination, and celebrate the wonder of childhood with your little ones. Whether it’s through stamping, painting, or any other creative endeavor, let us cherish each moment spent together and revel in the beauty of shared experiences.
Thank you for joining me on this stamping adventure. May your days be filled with laughter, love, and endless creativity.
Want to take your knowledge to the next level? Check out these must-read articles:
- Cotton Ball Soccer: Indoor Sports for Little Athletes
- Toddler Activities Unplugged: Screen-Free Fun Ideas
Organize your baby’s wardrobe with our baby clothes closet organizer products! Our organizers are designed specifically for baby clothes. Get your baby’s clothes neat and tidy with our selection of organizers – shop now!
Step into Sue Brown's World of Baby Care, where you'll find a treasure trove of knowledge and wisdom waiting to be explored. Sue's dedication to providing accurate and up-to-date information on baby care shines through in every article, blog post, and resource she shares. From newborn essentials to sleep training tips, breastfeeding advice to nurturing your baby's development, Sue covers a wide range of topics that are essential for every parent to know. Her warm and compassionate approach creates a sense of community and reassurance, making her website a safe haven for parents seeking guidance and support. Let Sue Brown be your partner in this beautiful journey of parenthood, as she empowers you to create a loving, nurturing, and thriving environment for your little one.
- The Division of Labor: Creating Equitable Parenting Partnerships - September 29, 2025
- Developmental Toy Rotation Systems - September 27, 2025
- Creating a Responsive Nighttime Parenting Plan - September 20, 2025

