Exploring Wonders: DIY Toddler-Friendly Science Experiments at Home
Embarking on the journey of parenthood is a whirlwind of emotions, filled with countless moments of joy, laughter, and discovery. As a parent, there’s nothing quite like witnessing the wonder and curiosity spark in your child’s eyes as they explore the world around them. And what better way to nurture that innate sense of wonder than through the magic of science?
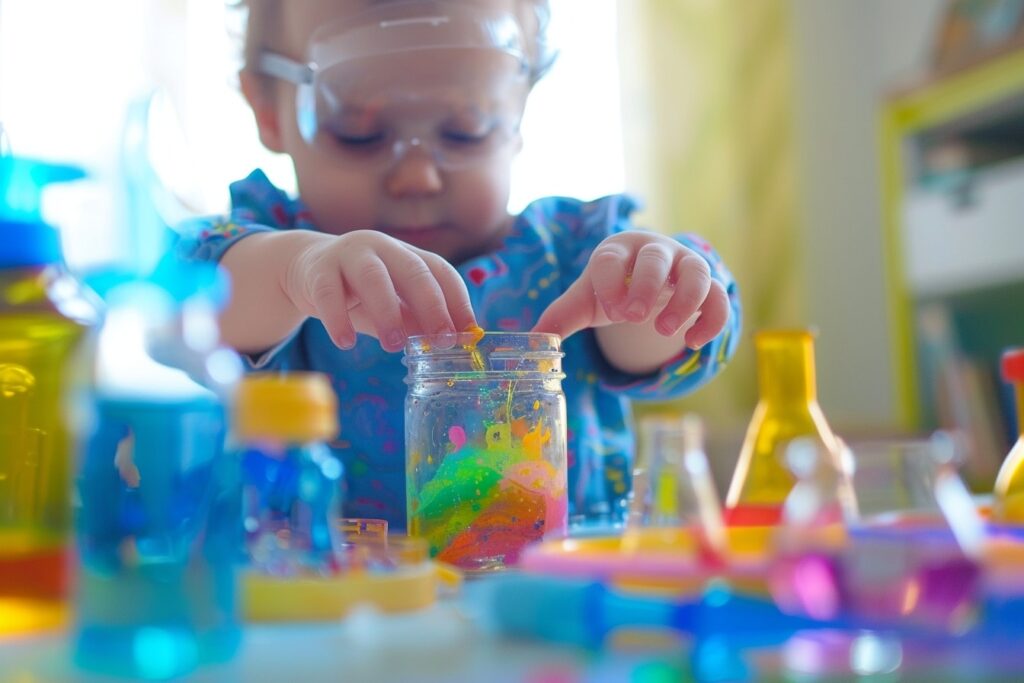
Picture this: your toddler’s tiny fingers eagerly reaching out to touch a swirling rainbow of colors, their giggles echoing in the air as they watch bubbles dance and fizz in a concoction of vinegar and baking soda. These moments are not just playful diversions; they’re opportunities for your child to engage in hands-on learning, igniting a lifelong passion for discovery and inquiry.
Science isn’t just for the lab-coat-clad professionals; it’s for everyone, including our littlest explorers. From simple experiments conducted in the comfort of your own kitchen to outdoor adventures that turn backyard into a science playground, there’s a world of wonder waiting to be discovered right at home.
In this article, we’ll delve into the realm of DIY toddler-friendly science experiments, offering a treasure trove of ideas and inspiration for parents eager to spark their child’s curiosity and creativity. Join us as we embark on a journey of exploration, where the only limit is your imagination.
So, gather your supplies, roll up your sleeves, and get ready to dive into a world of wonder as we explore the magic of science with your little ones.

Discovering Colors through Chromatography
Prepare to embark on a colorful adventure with your little scientist as we explore the fascinating world of chromatography. This simple yet mesmerizing experiment is not only a feast for the eyes but also a captivating lesson in the science of color separation.
Chromatography, derived from the Greek words chroma meaning color and graphy meaning to write, is a technique used to separate and analyze the components of a mixture based on their differing affinities for a stationary phase and a mobile phase. But fear not, we won’t delve too deep into the technical jargon; instead, we’ll focus on the magic and wonder it brings to our little ones.
Imagine your toddler’s delight as they watch colors swirl and dance across a piece of paper, each hue revealing its unique personality as it travels along the chromatography strip. It’s a sight to behold, sparking curiosity and excitement in equal measure.
To conduct this experiment, you’ll need just a few simple materials that you likely already have on hand: coffee filters or chromatography paper, markers in various colors, and a cup of water. Encourage your child to select their favorite colors, or better yet, let them mix and match to create a rainbow of possibilities.
Once you have your materials assembled, it’s time to dive in. Begin by cutting your chromatography paper or coffee filter into strips, ensuring they’re long enough to accommodate the colors you’ll be exploring. Next, invite your little scientist to draw bold lines or colorful designs using the markers on the chromatography paper.
With their masterpiece complete, it’s time to bring the magic to life. Dip the bottom of the chromatography strip into a cup of water, ensuring that the inked portion remains above the waterline. Then, sit back and watch as the water travels up the paper, carrying the colors along with it.
As the water ascends the paper, it carries the ink with it, revealing the hidden hues within each marker. You’ll notice that some colors separate into distinct bands, while others blend together in a beautiful display of chromatographic magic.
Encourage your child to observe and comment on the changes taking place before their eyes. Ask questions to stimulate their curiosity and foster a deeper understanding of the science behind the colors. What colors do they see? Which ones travel the farthest? Why do some colors separate while others remain intact?
But the fun doesn’t stop there. Once your chromatography strips have dried, you can use them to create vibrant artwork or decorative accents for your home. Frame them, hang them, or simply admire them as a testament to the beauty and wonder of science.
So, gather your supplies, unleash your creativity, and prepare to embark on a chromatic journey with your little explorer. With chromatography as your guide, the possibilities are endless, and the colors are waiting to be discovered.
Fizzing Fun with Baking Soda and Vinegar
Prepare to ignite your child’s sense of wonder with an explosively fun experiment that combines two household staples: baking soda and vinegar. This classic concoction never fails to delight with its fizzing, bubbling reaction, offering a hands-on lesson in chemistry disguised as pure fun.
But before we dive into the excitement, let’s take a moment to appreciate the science behind the magic. When baking soda (sodium bicarbonate) and vinegar (acetic acid) are combined, they undergo a chemical reaction that produces carbon dioxide gas. This gas is what causes the fizzing and bubbling that we observe, creating a visual spectacle that never fails to captivate young minds.
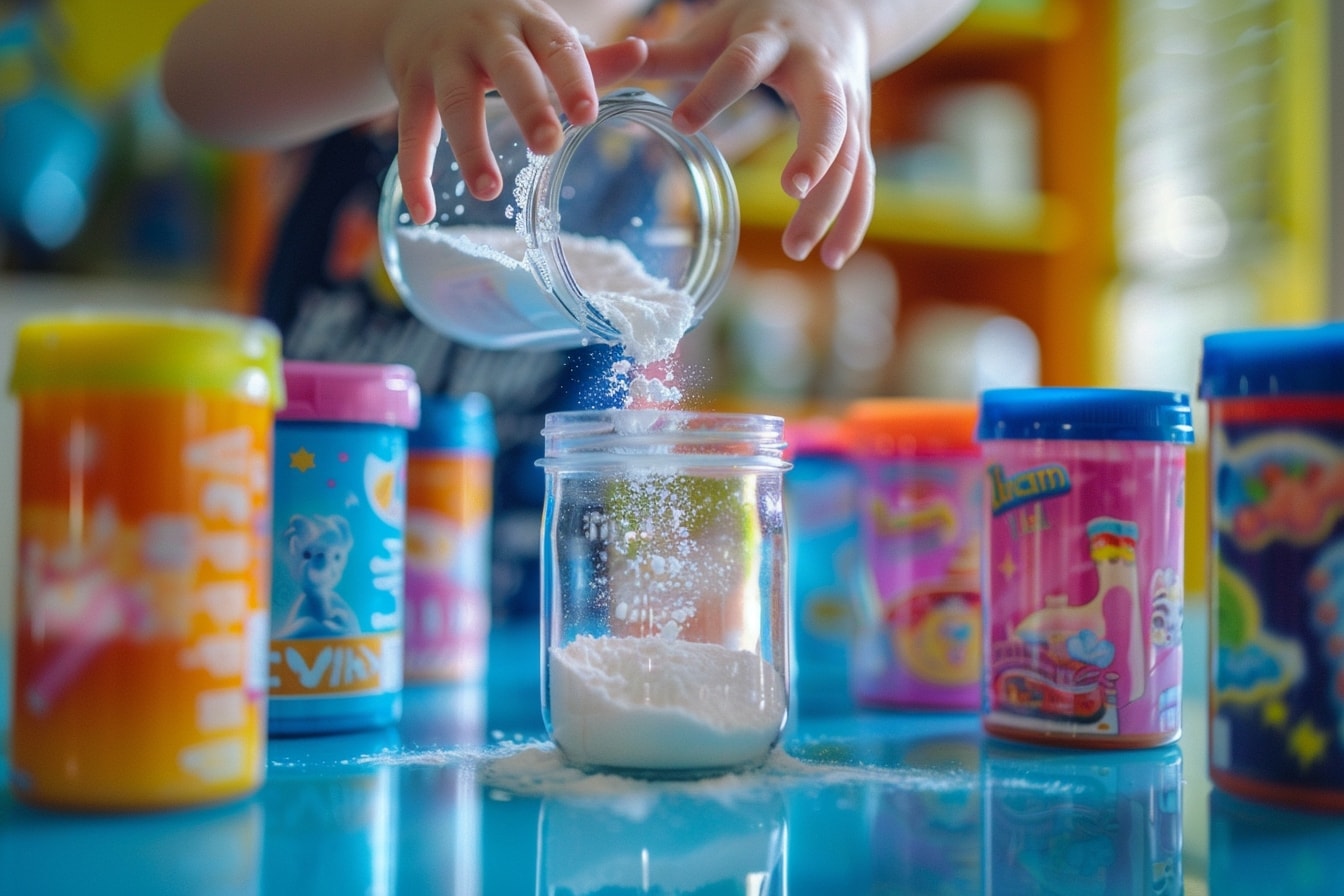
To embark on this fizzy adventure, all you need are a few simple ingredients: baking soda, vinegar, a container for mixing, and a sense of curiosity. Encourage your child to gather the supplies and prepare for a journey into the world of chemical reactions.
Once you have your materials assembled, it’s time to create some fizzing magic. Begin by pouring a generous amount of baking soda into your mixing container. Next, invite your child to carefully pour vinegar into the container, watching as the two substances react with each other.
As soon as the vinegar makes contact with the baking soda, you’ll witness an eruption of bubbles and foam, accompanied by the unmistakable sound of fizzing. Encourage your child to observe the reaction closely, noting the changes in texture, temperature, and volume.
But the fun doesn’t stop there. Challenge your little scientist to experiment with different ratios of baking soda to vinegar, varying the quantities to see how it affects the intensity and duration of the reaction. This hands-on exploration fosters a deeper understanding of the scientific principles at play, empowering your child to become a true chemist in their own right.
As you conduct your experiments, take the opportunity to engage your child in conversation about what they’re observing. Ask questions to stimulate their curiosity and critical thinking skills. What do they think is causing the bubbles? Why does the reaction slow down over time? How can they use what they’ve learned to create even more exciting experiments?
But perhaps the greatest joy of all lies in the sheer delight and wonder that this simple experiment brings. The look of amazement on your child’s face as they watch the bubbles dance and fizz is a priceless reminder of the magic of science and the joy of discovery.
So, gather your supplies, don your lab coats (or aprons), and get ready to embark on a journey of fizzy fun with your little scientist. With baking soda and vinegar as your trusty companions, the possibilities are endless, and the excitement is boundless.
Exploring Density with DIY Lava Lamps
Prepare to take a mesmerizing journey into the world of density with a DIY lava lamp experiment that will leave your little ones in awe. This captivating activity not only offers a visual treat but also provides a hands-on lesson in the scientific concept of density, all while sparking curiosity and creativity.
Now, let’s dive into the science behind the magic. Density refers to the measure of how much mass is contained in a given volume of a substance. In simpler terms, it’s a way of describing how closely packed together the particles of a substance are. And what better way to explore this concept than with the mesmerizing dance of a homemade lava lamp?
To conduct this experiment, you’ll need just a few simple ingredients: a clear jar or bottle, water, oil, food coloring, and Alka-Seltzer tablets. Encourage your child to gather the supplies and prepare for an adventure in density exploration.
Once you have your materials assembled, it’s time to create your own mini lava lamp. Begin by filling the clear jar or bottle about three-quarters full with water. Next, carefully pour oil into the jar until it forms a distinct layer on top of the water.
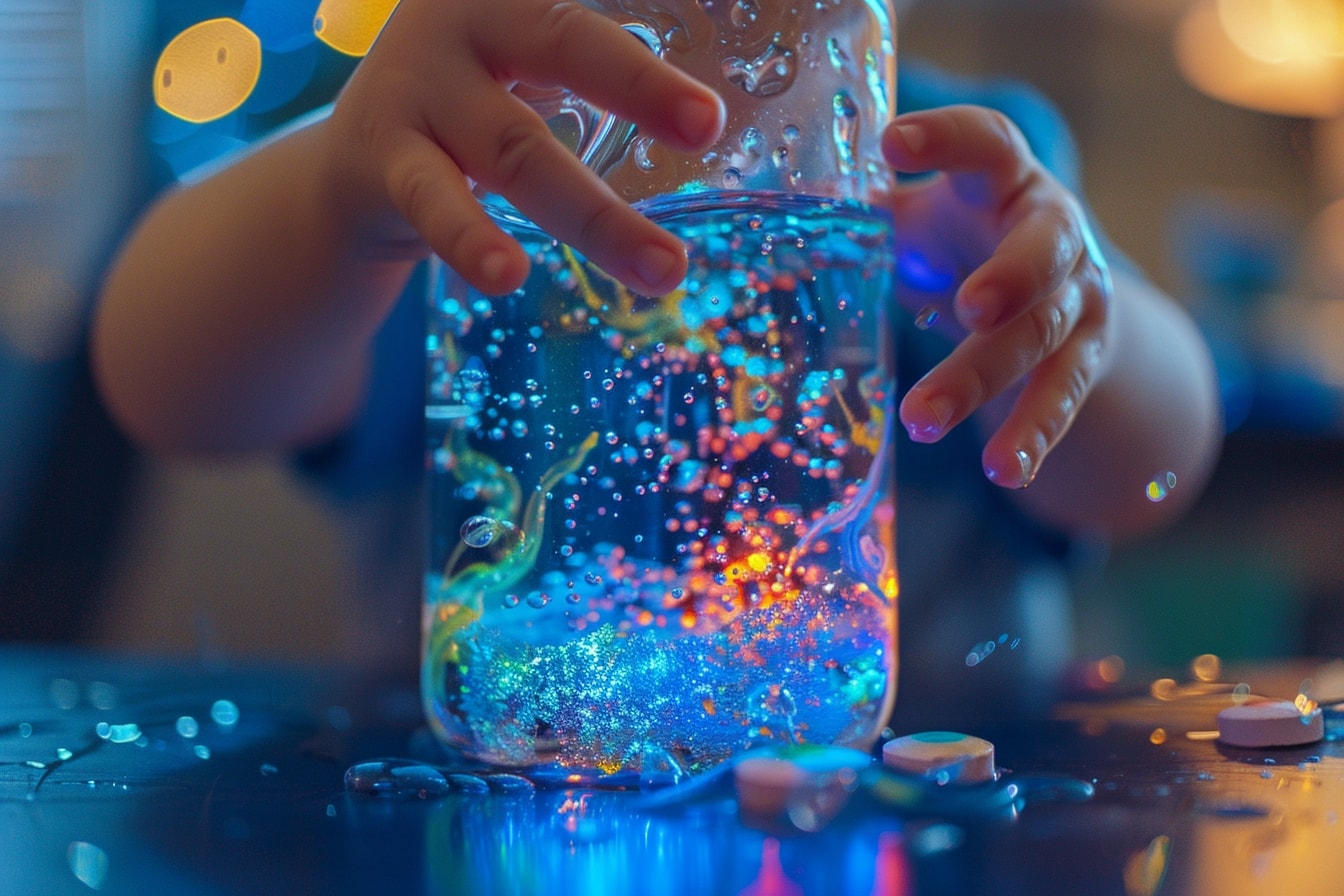
Now comes the fun part. Invite your child to add a few drops of food coloring to the jar, watching as the vibrant hues sink through the oil and disperse into the water below. This colorful display not only adds visual appeal but also provides a fascinating illustration of density in action.
But the real magic happens when you introduce the Alka-Seltzer tablets into the mix. As the tablets fizz and dissolve in the water, they release carbon dioxide gas bubbles that attach themselves to the colored droplets, causing them to rise and fall in a mesmerizing dance reminiscent of a lava lamp.
Encourage your child to observe the movement of the colored droplets closely, noting how they rise to the surface before sinking back down again. This phenomenon occurs because the oil and water have different densities, with the denser water sinking below the lighter oil.
As you watch the lava lamp in action, take the opportunity to engage your child in conversation about what they’re observing. Ask questions to stimulate their curiosity and critical thinking skills. Why do they think the colored droplets move the way they do? How does density affect the behavior of liquids?
But perhaps the greatest joy of all lies in the sense of wonder and excitement that this simple experiment brings. The sight of the colorful droplets dancing and swirling is a magical reminder of the beauty and complexity of the natural world, and the endless possibilities for exploration and discovery.
So, gather your supplies, set the stage for a scientific adventure, and prepare to embark on a journey of density exploration with your little scientist. With a DIY lava lamp as your guide, the possibilities are endless, and the discoveries are waiting to be made.

Creating Rainbow Rain Clouds
Prepare to bring a splash of color to your child’s world with an enchanting experiment that combines art and science: creating rainbow rain clouds. This delightful activity not only offers a visually stunning display but also provides a hands-on lesson in meteorology, sparking curiosity and wonder in young minds.
But before we dive into the excitement, let’s take a moment to appreciate the science behind the magic. Rain clouds form when warm, moist air rises and cools, causing water vapor to condense into tiny droplets. These droplets then come together to form clouds, which can produce rain under the right conditions.
Now, let’s turn our attention to creating our own miniature rain clouds. To conduct this experiment, you’ll need just a few simple ingredients: a clear jar or glass, water, shaving cream, and food coloring. Encourage your child to gather the supplies and prepare for a colorful adventure.
Once you have your materials assembled, it’s time to create your very own rainbow rain cloud. Begin by filling the clear jar or glass about three-quarters full with water. Next, invite your child to spray a generous amount of shaving cream on top of the water, creating a fluffy cloud that floats on the surface.
Now comes the fun part. Add a few drops of food coloring to the top of the shaving cream cloud, using different colors to create a vibrant rainbow effect. Watch in amazement as the colored droplets slowly seep through the shaving cream cloud and begin to rain down into the water below.
As the colored droplets sink through the shaving cream cloud, they create a mesmerizing display of swirling colors, reminiscent of a rainbow after a summer shower. Encourage your child to observe the movement of the colored droplets closely, noting how they blend and swirl together in a beautiful dance.
But the magic doesn’t stop there. As the colored droplets continue to rain down into the water below, they gradually disperse and create a stunning rainbow effect throughout the entire jar. This captivating display not only delights the senses but also provides a tangible illustration of the beauty and wonder of nature.
As you watch the rainbow rain clouds in action, take the opportunity to engage your child in conversation about what they’re observing. Ask questions to stimulate their curiosity and critical thinking skills. Why do they think the colored droplets sink through the shaving cream? How does this experiment relate to real-life weather patterns?
But perhaps the greatest joy of all lies in the sense of wonder and excitement that this simple experiment brings. The sight of the colorful droplets dancing and swirling is a magical reminder of the beauty and complexity of the natural world, and the endless possibilities for exploration and discovery.
So, gather your supplies, set the stage for a scientific adventure, and prepare to embark on a journey of meteorological discovery with your little scientist. With rainbow rain clouds as your guide, the possibilities are endless, and the wonders of nature are waiting to be explored.

Building Simple Circuits with Play Dough
Prepare to illuminate your child’s world with an electrifying experiment that combines creativity and science: building simple circuits with play dough. This hands-on activity not only offers a fun way to explore the basics of electricity but also sparks imagination and innovation in young minds.
But before we dive into the excitement, let’s take a moment to appreciate the science behind the magic. A circuit is a closed loop through which electricity flows, powered by a source such as a battery. When a circuit is complete, electrons can flow freely, creating light, heat, or other forms of energy.
Now, let’s turn our attention to building our own circuits using play dough. To conduct this experiment, you’ll need just a few simple ingredients: play dough, LED lights, batteries, and conductive materials such as copper wire or aluminum foil. Encourage your child to gather the supplies and prepare for an electrifying adventure.
Once you have your materials assembled, it’s time to get creative. Begin by shaping the play dough into different shapes and structures, such as circles, squares, or even animals. These will serve as the wires and components of your circuit.
Next, invite your child to insert the LED lights into the play dough, positioning them strategically to create a circuit. These lights will serve as the bulbs in your circuit, illuminating the path of electricity as it flows through the play dough.
Now comes the fun part. Connect the LED lights to the batteries using conductive materials such as copper wire or aluminum foil. Encourage your child to experiment with different configurations, creating loops and pathways for the electricity to travel.
As you build your circuits, take the opportunity to discuss the science behind the magic. Explain how electricity flows through the wires, lighting up the LED lights as it passes through. Encourage your child to observe the effects of different configurations on the brightness and intensity of the lights.
But the real magic happens when you switch off the lights and watch as your play dough circuits come to life, casting a warm glow that illuminates the room. It’s a sight to behold, sparking wonder and curiosity in both young and old alike.
As you explore the world of circuits with your child, take the opportunity to engage them in conversation about what they’re observing. Ask questions to stimulate their curiosity and critical thinking skills. How does electricity flow through the play dough? What happens when you add more batteries or lights to the circuit?
But perhaps the greatest joy of all lies in the sense of creativity and innovation that this simple experiment brings. The sight of your child’s eyes lighting up as they discover the power of electricity is a priceless reminder of the magic of learning and discovery.
So, gather your supplies, unleash your creativity, and prepare to embark on a journey of electrifying exploration with your little scientist. With play dough circuits as your guide, the possibilities are endless, and the discoveries are waiting to be made.
As we reach the end of our exhilarating journey through the world of DIY toddler-friendly science experiments, it’s time to reflect on the wonders we’ve discovered and the memories we’ve created together. From chromatography masterpieces to bubbling lava lamps and electrifying play dough circuits, each experiment has offered a unique opportunity for learning, exploration, and fun.
But beyond the colorful explosions and dazzling displays, these experiments have also provided valuable lessons in curiosity, creativity, and critical thinking. By engaging in hands-on exploration, our little scientists have not only learned about the principles of science but have also developed important skills such as problem-solving, collaboration, and perseverance.
As parents, educators, and caregivers, it’s our privilege and responsibility to nurture and inspire the next generation of innovators, thinkers, and dreamers. And what better way to do so than through the magic of science?
But our journey doesn’t end here. As we bid farewell to our makeshift laboratories and put away our goggles and aprons, let us carry the spirit of discovery and wonder with us wherever we go. Whether it’s exploring the mysteries of nature in our backyard or conducting experiments in our kitchen, there’s always something new and exciting to discover.
So, let us continue to foster a love of learning, curiosity, and exploration in our children, igniting their passion for science and fueling their dreams of discovery. And let us never forget the joy and wonder that comes from seeing the world through the eyes of a child, where every experiment is an adventure and every discovery is a triumph.
As we embark on this journey together, let us celebrate the magic of science and the endless possibilities it holds for the future. For in the words of Albert Einstein, The most beautiful thing we can experience is the mysterious. It is the source of all true art and science.
So, here’s to many more adventures, discoveries, and moments of wonder. May our curiosity never wane, our imaginations never falter, and our love for science never dim. For the world is a vast and wondrous place, waiting to be explored by curious minds and adventurous spirits.
Thank you for joining us on this thrilling journey through the world of DIY toddler-friendly science experiments. Until next time, keep exploring, keep discovering, and keep dreaming big.
Want to take your knowledge to the next level? Check out these must-read articles:
- Treasure Hunt Time: Engaging Toddler Scavenger Hunts
- Bubble Wrap Bonanza: Sensory Play for Tiny Fingers
Organize your baby’s wardrobe with our baby clothes closet organizer products! Our organizers are designed specifically for baby clothes. Get your baby’s clothes neat and tidy with our selection of organizers – shop now!
Step into Sue Brown's World of Baby Care, where you'll find a treasure trove of knowledge and wisdom waiting to be explored. Sue's dedication to providing accurate and up-to-date information on baby care shines through in every article, blog post, and resource she shares. From newborn essentials to sleep training tips, breastfeeding advice to nurturing your baby's development, Sue covers a wide range of topics that are essential for every parent to know. Her warm and compassionate approach creates a sense of community and reassurance, making her website a safe haven for parents seeking guidance and support. Let Sue Brown be your partner in this beautiful journey of parenthood, as she empowers you to create a loving, nurturing, and thriving environment for your little one.
- Indoor Air Quality for Infant Respiratory Health - October 20, 2025
- Positive Discipline Foundations: Setting the Stage From Infancy - October 18, 2025
- 2025’s Most Innovative Baby Products Worth the Investment - October 16, 2025