Table of Contents
ToggleDIY Toddler-Friendly Bowling: Rolling Fun at Home
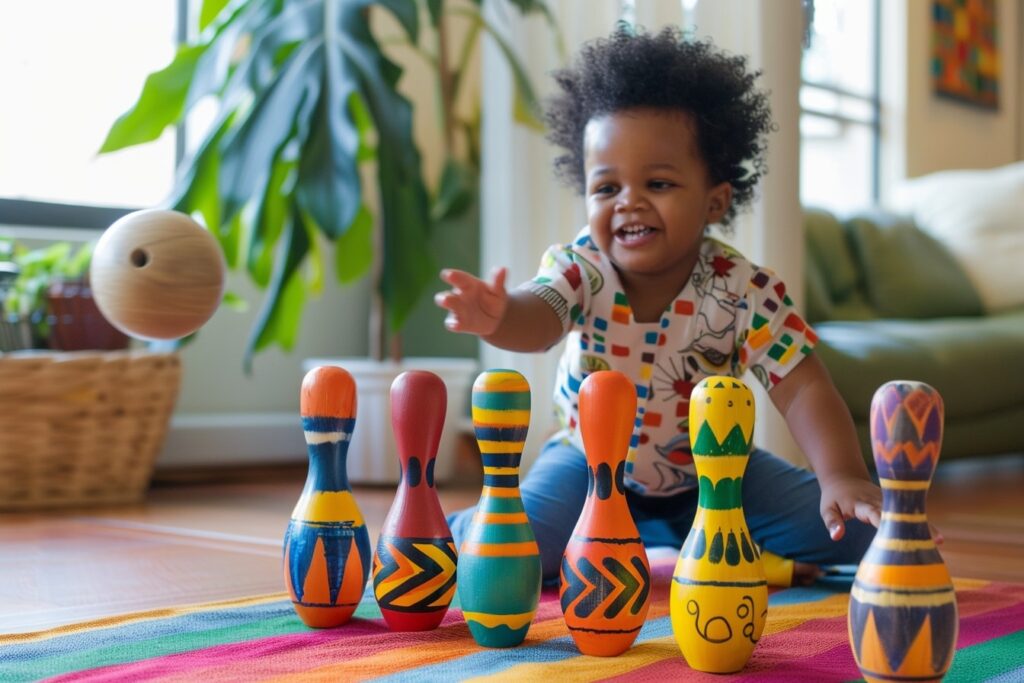
Picture this – laughter echoing through your living room as your toddler triumphantly knocks down homemade bowling pins. As a parent, there’s nothing quite like witnessing the joy on your child’s face during moments of creative play. That’s why I’m thrilled to share with you an exciting activity that combines fun, creativity, and motor skill development: DIY toddler-friendly bowling!
Bowling is a timeless pastime enjoyed by people of all ages, but let’s face it – taking young children to a bowling alley can be challenging. From the noise and crowds to the heavy balls and slippery floors, traditional bowling alleys aren’t always the most toddler-friendly environments. But fear not, because with a little creativity and ingenuity, you can bring the excitement of bowling right into your own home.
But why should you bother with DIY bowling, you might ask? Well, besides the convenience of being able to play anytime, anywhere, DIY bowling offers a host of benefits for your little one’s development. Research shows that hands-on activities like crafting and playing games can improve children’s motor skills, hand-eye coordination, and cognitive abilities. Plus, it’s a fantastic way to bond with your child and create lasting memories together.
Now, you might be thinking, But I’m not particularly crafty – how am I supposed to make bowling pins? Don’t worry – you don’t need to be a DIY expert to pull off this activity. In fact, I’ll walk you through the entire process, from gathering materials to decorating your pins with a splash of Caribbean flair.
So grab your little one and get ready for a bowling adventure like no other! Together, we’ll roll, laugh, and create cherished memories that will last a lifetime. Are you ready to unleash your inner craftiness and bring the joy of bowling into your home? Let’s dive in!
Crafting Your Pins
Now comes the fun part – crafting your very own bowling pins! Don’t worry if you’re not a master crafter – this DIY project is simple, affordable, and perfect for parents and toddlers alike. Let’s gather our materials and unleash our creativity!
Gather Your Materials
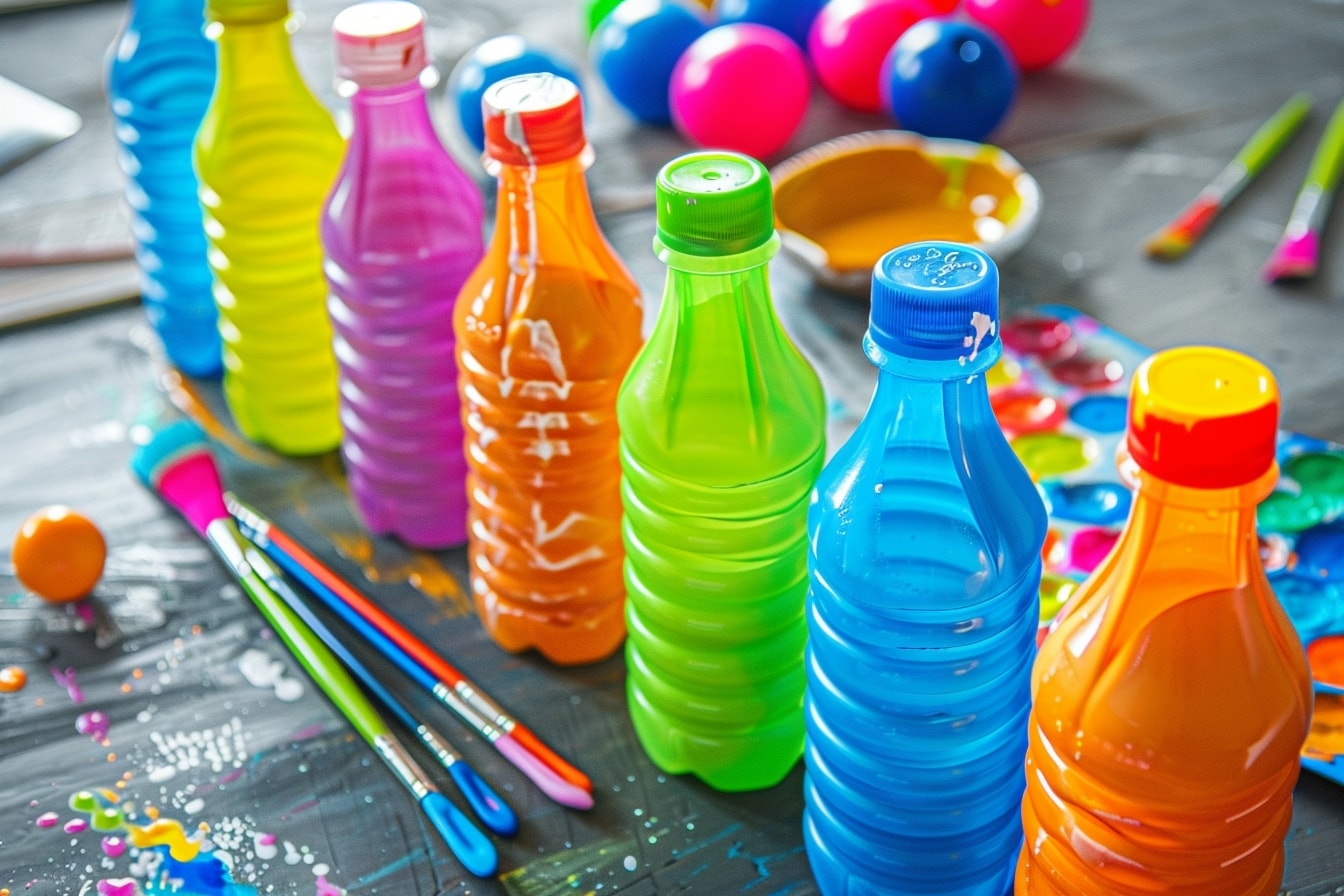
- Empty plastic bottles – You’ll need at least six bottles to create a full set of pins. Choose bottles with a sturdy base to ensure stability.
- Paint and paintbrushes – Opt for non-toxic, washable paint in bright colors that will catch your toddler’s eye. Feel free to get creative with Caribbean-inspired hues like turquoise, coral, and sunshine yellow!
- Decorations – Raid your craft supplies for stickers, sequins, pom-poms, or anything else you have on hand to add personality to your pins.
- Scissors – You’ll need these to trim any excess plastic from the bottles or to cut out decorative shapes.
Once you’ve gathered your materials, it’s time to transform those ordinary plastic bottles into whimsical bowling pins that will spark joy in your child’s eyes.
Decorating Your Pins
Start by thoroughly washing and drying your plastic bottles to remove any residue or labels. Once they’re clean and dry, it’s time to let your creativity run wild!
Encourage your toddler to join in the fun by allowing them to choose their favorite colors and decorations for the pins. Whether they want to paint stripes, polka dots, or even draw smiley faces, let them express themselves however they please.
As you decorate each pin, take a moment to talk to your child about the colors and patterns they’re using. This not only enhances their creative thinking skills but also provides an opportunity for meaningful bonding as you work together on this project.
Don’t be afraid to experiment with different techniques and materials to create pins that are as unique and vibrant as your family’s personality. And remember, there’s no right or wrong way to decorate – the most important thing is to have fun!
Once your pins are fully decorated and the paint is dry, it’s time to set up your DIY bowling alley and let the games begin. But before we get to that, let’s make sure our bowling pins are safe and sturdy for little hands to handle.
Making It Safe
As parents, safety is always our top priority – especially when it comes to activities involving our little ones. While DIY toddler-friendly bowling is a fantastic way to bond and have fun together, it’s essential to take precautions to ensure a safe and enjoyable experience for everyone involved.
Ensuring Stability
First and foremost, let’s talk about the stability of our homemade bowling pins. Since we’re using plastic bottles as our pins, it’s crucial to ensure they’re weighted properly at the base to prevent tipping or toppling over during play. You can achieve this by filling the bottom of each bottle with sand, rice, or small pebbles before decorating them. This added weight will help anchor the pins in place and reduce the risk of accidents.
Choosing Safe Materials
When it comes to decorating our bowling pins, it’s essential to use non-toxic, child-safe materials that won’t pose any health risks to our little ones. Opt for washable paints and decorations that are free from harmful chemicals or small parts that could pose a choking hazard. Remember, safety should always come first, even when it comes to crafting.
Supervising Playtime
While DIY bowling is a fun and engaging activity for toddlers, it’s essential to supervise playtime closely to ensure that everyone stays safe. Keep an eye on your child as they bowl, making sure they’re using the pins and balls appropriately and not engaging in any rough or unsafe behavior. By staying actively involved in the game, you can quickly address any potential hazards and keep the fun rolling smoothly.
Setting Up a Safe Play Area
In addition to ensuring the safety of our bowling pins and materials, it’s essential to set up a safe play area for our DIY bowling alley. Clear away any obstacles or tripping hazards, and make sure the playing surface is smooth and level to prevent slips and falls. If you’re playing outdoors, be mindful of any potential hazards like uneven terrain or sharp objects.
Teaching Safe Bowling Techniques
Finally, take the time to teach your child safe bowling techniques to minimize the risk of accidents during play. Show them how to hold the ball properly, take turns bowling, and move safely around the play area. By instilling these basic safety rules from the start, you can help create a safe and enjoyable bowling experience for your little one.
By following these safety tips and guidelines, you can enjoy hours of bowling fun with your toddler without worrying about their well-being. Now that we’ve covered the essentials of safety, it’s time to set up our DIY bowling alley and let the good times roll!

Innovative Bowling Variations
Ready to take your DIY toddler-friendly bowling experience to the next level? Get ready to think outside the box and explore some innovative variations on this classic game. From glow-in-the-dark bowling to themed obstacle courses, the possibilities are endless – so let’s get creative!
Glow-in-the-Dark Bowling
Transform your living room or backyard into a glowing neon wonderland with glow-in-the-dark bowling! Simply add glow sticks or LED lights to your bowling pins and ball for an electrifying twist on traditional bowling. Not only will this variation add a cool visual element to the game, but it’s also perfect for evening playtime or indoor parties. Dim the lights, turn on some upbeat Caribbean music, and watch as your little one’s eyes light up with excitement!
Themed Obstacle Courses
Why stop at setting up a simple bowling alley when you can create a full-blown themed obstacle course? Use household items like cushions, pillows, and cardboard boxes to design a series of challenges and obstacles for your little bowler to navigate. Incorporate Caribbean-inspired themes like Pirate’s Cove or Tropical Jungle to add an extra element of adventure to the game. Whether they’re crawling through tunnels, hopping over hurdles, or knocking down pins, your child will have a blast while developing their motor skills and coordination.
Target Bowling
Turn bowling into a precision sport with target bowling! Set up a variety of targets around your play area, such as empty boxes, baskets, or even hula hoops, and challenge your child to knock them down with their bowling ball. You can assign different point values to each target based on difficulty, encouraging your little one to aim carefully and strategize their shots. This variation not only enhances hand-eye coordination but also adds an element of friendly competition to the game.
DIY Bowling Alley Makeover
Give your DIY bowling alley a makeover with themed decorations and props inspired by Caribbean culture. Set the stage for an immersive bowling experience by adding tropical plants, colorful banners, and beach-themed accessories to your play area. Encourage your child to dress up in Caribbean-inspired costumes like pirates, mermaids, or tropical birds to add an extra layer of excitement to the game. With a little imagination and creativity, you can transform your living room into a Caribbean paradise where the fun never stops!
Interactive Bowling Challenges
Take your bowling game to the next level with interactive challenges and games that keep your child engaged and entertained. Create fun mini-games like Bowling Bingo where your child has to knock down specific pin configurations to complete their bingo card. Or challenge them to a game of Bowling Bonanza where they have to knock down as many pins as possible within a time limit. These interactive challenges not only make bowling more exciting but also encourage your child to think strategically and improve their aiming skills.
With these innovative bowling variations, the fun never ends! Whether you’re glowing in the dark, navigating obstacle courses, or aiming for targets, there’s always something new and exciting to explore with DIY toddler-friendly bowling. So gather your materials, unleash your creativity, and get ready for a bowling adventure like no other!
Setting Up the Game
Now that we’ve crafted our beautiful bowling pins and ensured they’re safe for play, it’s time to set up our DIY bowling alley and get the game rolling! Whether you’re playing indoors or outdoors, there are a few key steps to consider to create the perfect bowling experience for your little one.
Choosing the Right Location
First things first – let’s choose the perfect location for our DIY bowling alley. If you’re playing indoors, clear a space in your living room or play area where there’s plenty of room to set up your pins and roll your ball. Make sure the surface is smooth and level to ensure a smooth bowling experience. If you’re playing outdoors, find a flat area in your backyard or patio where you won’t have to worry about obstacles or uneven terrain.
Creating a Festive Atmosphere
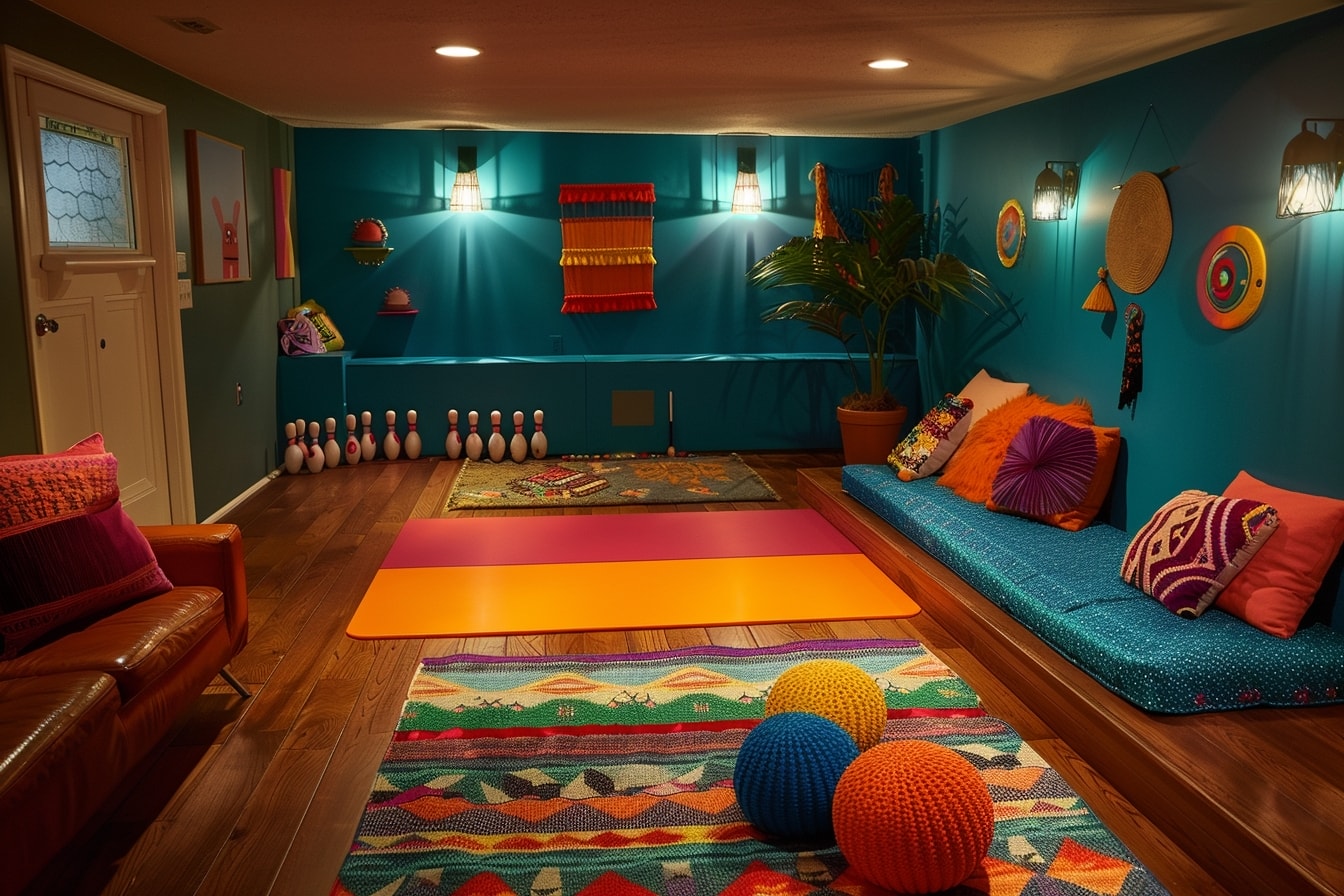
Add a touch of Caribbean flair to your bowling setup by creating a festive atmosphere with colorful decorations and accessories. Lay down a vibrant rug or mat to designate your bowling lane and add a pop of color to your play area. Hang up streamers, banners, or bunting in bright Caribbean hues to create a festive backdrop for your game. Don’t forget to turn up the music and play some upbeat Caribbean tunes to set the mood for a fun-filled bowling adventure!
Adjusting Game Rules and Difficulty Levels
Before you start playing, take a moment to adjust the game rules and difficulty levels to suit your child’s age and skill level. For younger toddlers, consider using a lighter ball or setting up the pins closer together to make it easier for them to knock them down. As your child grows and develops their bowling skills, you can gradually increase the distance between the pins or introduce new challenges to keep the game exciting and engaging.
Creating a Bowling Scorecard
Make the game even more interactive by creating a bowling scorecard to track your child’s progress and celebrate their achievements. Use a piece of paper or a whiteboard to create a simple scoreboard with space to record each player’s scores for each round. Encourage your child to keep track of their own scores and celebrate their successes with cheers and high-fives. This not only adds a fun competitive element to the game but also helps develop your child’s math and counting skills.
Adding Personal Touches
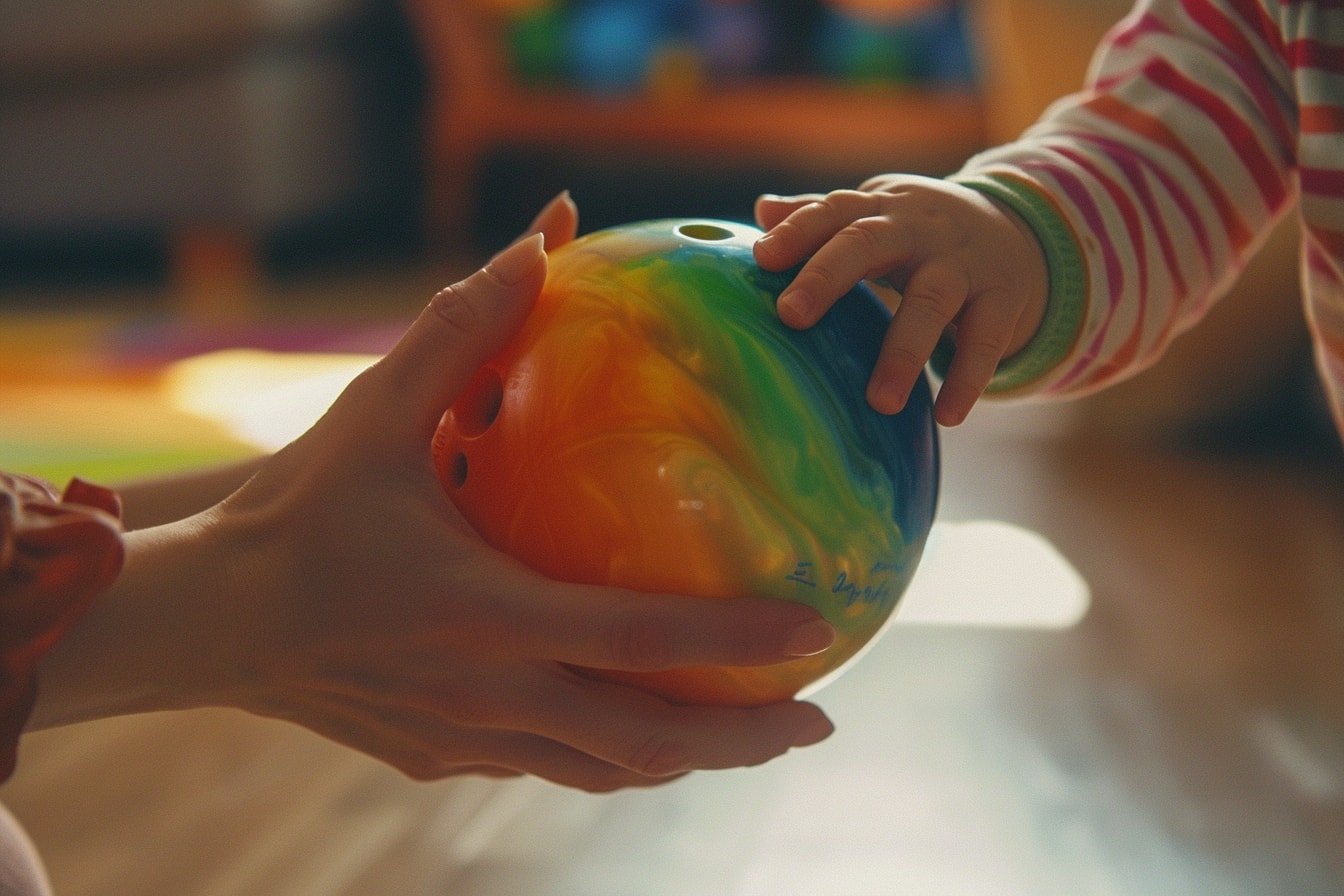
Finally, don’t forget to add some personal touches to make your DIY bowling alley feel like your own. Encourage your child to decorate their bowling ball with stickers or paint to make it uniquely theirs. You can also customize your pins with special designs or patterns that reflect your family’s interests or hobbies. By adding these personal touches, you’ll create a bowling experience that’s truly one-of-a-kind and memorable for years to come.
With these tips in mind, you’re ready to set up your DIY bowling alley and embark on a bowling adventure like no other. So gather your materials, gather your little one, and let the good times roll!
Promoting Active Participation
Engaging your child in the bowling game is not only about knocking down pins but also about fostering active participation and creating meaningful bonding moments. Let’s explore some strategies to encourage your little one to fully immerse themselves in the bowling experience.
Encouraging Efforts and Celebrating Successes
One of the most effective ways to promote active participation is by praising your child’s efforts and celebrating their successes, no matter how small. Cheer them on as they line up their shot, and celebrate with enthusiasm each time they knock down a pin. By acknowledging their achievements and offering words of encouragement, you’ll boost their confidence and motivation to keep trying.
Turning Bowling into a Learning Experience
Take advantage of the educational opportunities that bowling presents by incorporating learning elements into the game. Encourage your child to count the number of pins they knock down or identify the colors and shapes of the pins. You can also practice taking turns and following rules, teaching important social and cognitive skills in a fun and interactive way.
Infusing Imaginative Play into Bowling
Imaginative play adds an extra layer of excitement to the bowling game and encourages your child to fully engage with their surroundings. Encourage them to come up with creative stories or scenarios as they bowl – perhaps they’re pirates searching for treasure, or explorers navigating a jungle obstacle course. By tapping into their imagination, you’ll spark their curiosity and enthusiasm for the game.
Offering Choices and Autonomy
Give your child a sense of ownership and autonomy by involving them in decision-making throughout the game. Let them choose which pins to aim for or how to decorate their bowling ball. By giving them choices and allowing them to take the lead, you’ll empower them to become active participants in the bowling experience.
Creating Opportunities for Social Interaction
Bowling is not just a solo activity – it’s also a fantastic opportunity for social interaction and connection. Encourage your child to play with siblings, friends, or family members, fostering teamwork and cooperation as they take turns and cheer each other on. Building these social skills early on will benefit your child in various aspects of their life, from school to extracurricular activities.
By implementing these strategies, you’ll create a bowling experience that not only promotes physical activity and coordination but also encourages your child to actively engage with the game and develop important skills along the way. So let’s roll up our sleeves, lace up our bowling shoes, and embark on a bowling adventure filled with laughter, learning, and love!
As we come to the end of our DIY toddler-friendly bowling adventure, let’s take a moment to reflect on the memories we’ve created and the skills we’ve nurtured along the way. From crafting colorful bowling pins to promoting active participation and bonding with our little ones, this journey has been filled with joy, laughter, and love.
Summarizing the Journey
Throughout this article, we’ve explored the ins and outs of DIY toddler-friendly bowling, from setting up our homemade bowling alley to promoting safety and engagement during playtime. We’ve learned how to transform ordinary plastic bottles into whimsical bowling pins and how to create a festive atmosphere that sparks excitement and imagination.
We’ve embraced innovative variations on the classic game of bowling, from glow-in-the-dark bowling to themed obstacle courses, infusing each play session with creativity and adventure. We’ve celebrated our child’s achievements, no matter how small, and encouraged them to take risks, try new things, and believe in themselves.
Encouraging Continued Growth
As we wrap up our bowling adventure, let’s carry the spirit of creativity, curiosity, and connection into our everyday lives. Let’s continue to seek out opportunities for hands-on play and learning, whether it’s crafting homemade toys, exploring nature, or engaging in imaginative storytelling.
Let’s foster a supportive and nurturing environment where our children feel empowered to express themselves, take on challenges, and pursue their passions with confidence. And let’s never underestimate the power of play to strengthen our bonds, ignite our imaginations, and create lifelong memories.
Inviting Further Exploration
But our bowling journey doesn’t have to end here – in fact, it’s just the beginning! I encourage you to continue exploring the world of DIY toddler-friendly activities, experimenting with new ideas, and making precious memories with your little ones.
So gather your materials, gather your little one, and let the adventures continue. Whether you’re rolling strikes in your living room, exploring new worlds in your backyard, or embarking on creative endeavors together, remember that the most important thing is to cherish each moment and celebrate the unique bond you share.
A Final Farewell
Thank you for joining me on this bowling adventure, dear readers. May your days be filled with laughter, love, and countless opportunities for joyous play. Until next time, keep rolling, keep laughing, and keep embracing the magic of childhood.
Farewell, and happy bowling!
Want to take your knowledge to the next level? Check out these must-read articles:
Organize your baby’s wardrobe with our baby clothes closet organizer products! Our organizers are designed specifically for baby clothes. Get your baby’s clothes neat and tidy with our selection of organizers – shop now!
Step into Sue Brown's World of Baby Care, where you'll find a treasure trove of knowledge and wisdom waiting to be explored. Sue's dedication to providing accurate and up-to-date information on baby care shines through in every article, blog post, and resource she shares. From newborn essentials to sleep training tips, breastfeeding advice to nurturing your baby's development, Sue covers a wide range of topics that are essential for every parent to know. Her warm and compassionate approach creates a sense of community and reassurance, making her website a safe haven for parents seeking guidance and support. Let Sue Brown be your partner in this beautiful journey of parenthood, as she empowers you to create a loving, nurturing, and thriving environment for your little one.
- Traveling With Tiny Humans: Practical Strategies for Sanity - July 7, 2025
- Baby’s First Holiday Season: Creating Meaningful Traditions - July 4, 2025
- Embracing Toy Minimalism: Quality Over Quantity - June 30, 2025

