Skip to content
DIY Toddler-Friendly Bowling: Rolling Fun at Home
Introduction
Picture this: it’s a rainy afternoon, and you’re stuck indoors with your energetic toddler. The toys have lost their appeal, and the walls of your living room feel like they’re closing in on you. You’re desperately searching for a way to keep your little one entertained while also stimulating their growing mind and body. But fear not, because I’m here to tell you about a magical solution that will turn any ordinary day into an unforgettable adventure: DIY toddler-friendly bowling!
As a parent myself, I understand the challenges of keeping young children engaged and entertained, especially when outdoor activities are limited. That’s why I’ve embarked on a mission to discover creative and engaging indoor games that are not only fun but also educational. And let me tell you, DIY toddler-friendly bowling ticks all the boxes!
Imagine the joy on your child’s face as they line up their makeshift bowling pins and take aim with a soft ball, their eyes lighting up with excitement as they knock down each pin one by one. But this isn’t just any ordinary game of bowling – it’s a tailor-made experience designed specifically for little ones, with safety and learning at the forefront.
In this blog post, I’m thrilled to share with you everything you need to know to create your very own DIY toddler-friendly bowling alley right in the comfort of your own home. From setting up the perfect bowling lane to choosing the safest materials and adapting the game for little hands, I’ll walk you through every step of the process so you can enjoy hours of rolling fun with your precious bundle of joy.
So, grab your little one’s hand and join me on this adventure as we embark on a journey of imagination, creativity, and endless fun. Get ready to unleash your inner child and create memories that will last a lifetime!
Creating Your DIY Bowling Lane
Now, let’s dive into the exciting world of creating your very own DIY bowling lane right in the heart of your home. With just a few simple materials and a touch of creativity, you’ll be amazed at how easy it is to transform any space into a bowling alley fit for your pint-sized bowlers!
First things first, let’s talk about the essentials: the bowling lane itself. While you may not have the space or resources to construct a full-size bowling alley in your living room (although wouldn’t that be something!), you can easily create a mini version that’s just as thrilling for your little ones.
- Choose Your Space: Start by selecting a flat surface in your home where you’ll set up your DIY bowling lane. This could be in the living room, playroom, or even outdoors if weather permits.
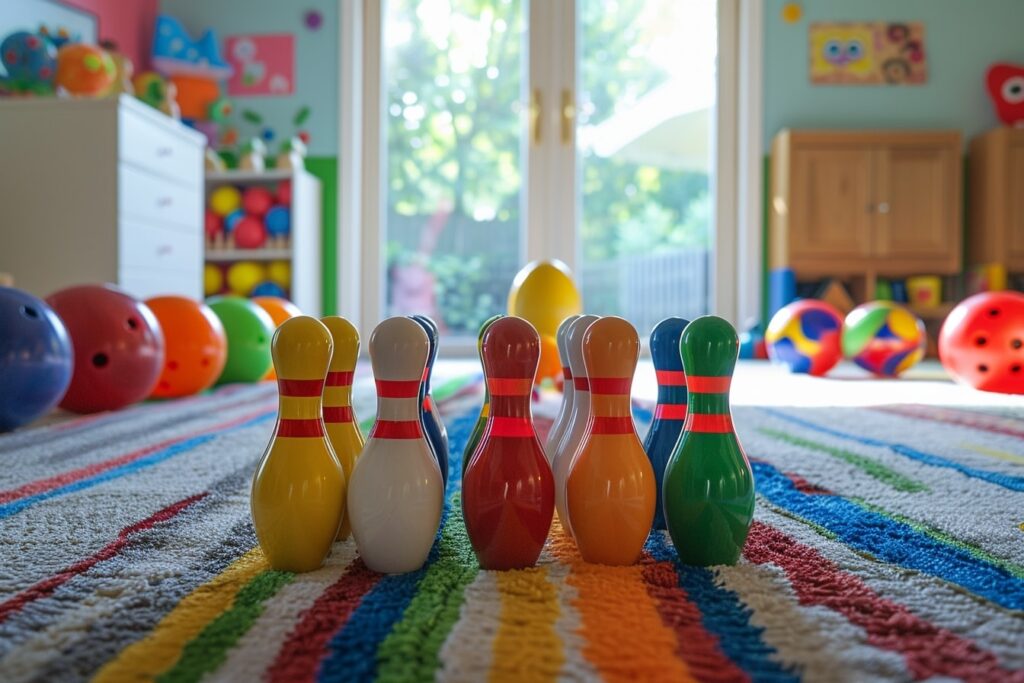
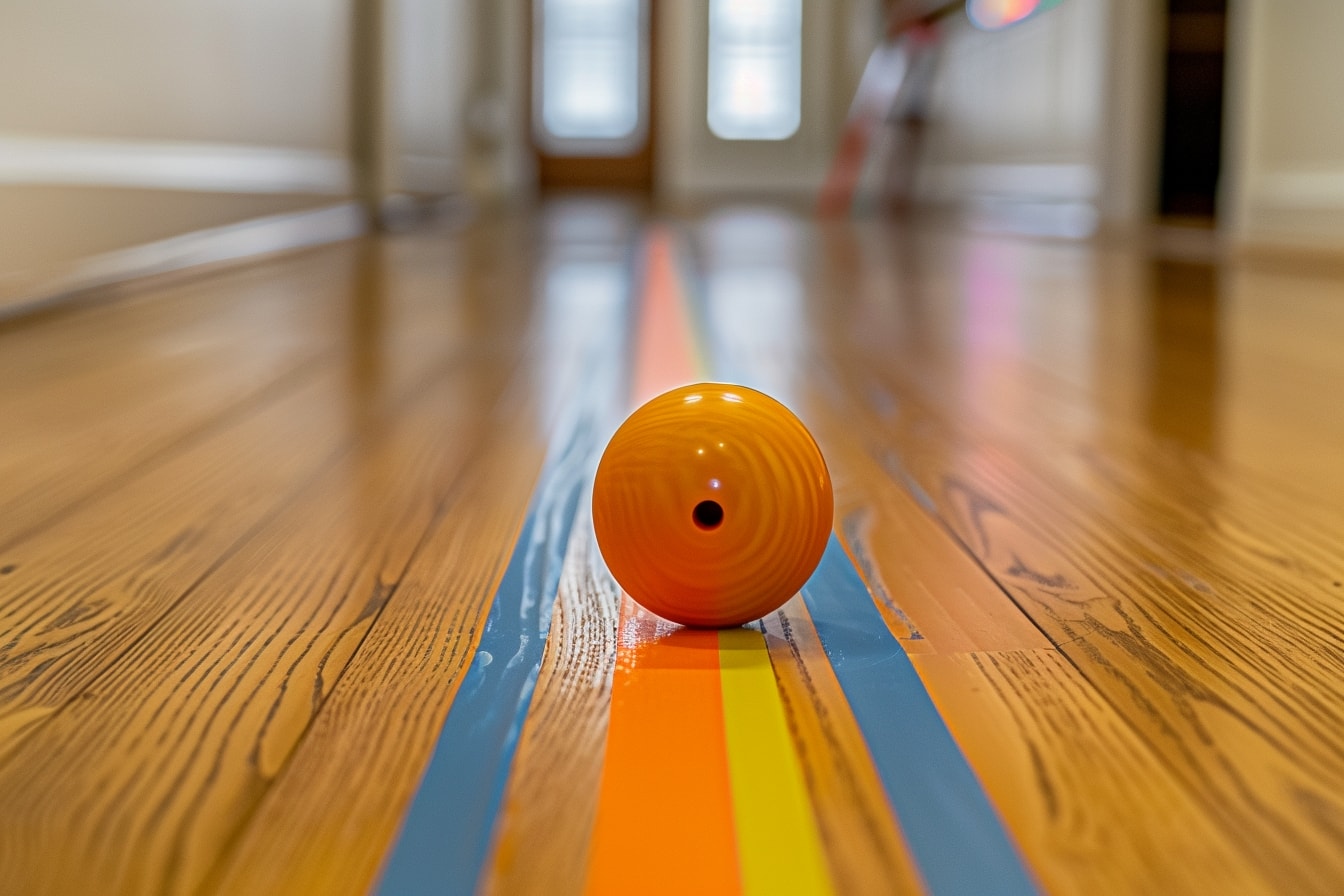
- Mark Your Lane: Use colorful tape or chalk to mark out the boundaries of your bowling lane. Create a straight line for the bowling line and mark off the area where the pins will be set up.
- Gather Your Materials: Next, gather your materials for the bowling lane. You’ll need some lightweight pins (more on that later), a soft ball or lightweight ball, and any decorative elements you’d like to add to enhance the experience.
Now, let’s talk about the all-important bowling pins. While traditional bowling pins may be too heavy or cumbersome for little hands, there are plenty of creative alternatives that are perfect for pint-sized bowlers.
- DIY Bowling Pins: Get crafty and create your own bowling pins using materials you have around the house. Empty plastic bottles filled with a bit of sand or rice make excellent makeshift pins, and you can decorate them with paint or stickers to add a personal touch.
- Soft and Safe: Safety is paramount when it comes to toddler-friendly bowling, so be sure to choose materials that are soft and lightweight. Foam or plush pins are ideal for little ones, as they won’t cause any harm if accidentally knocked over or thrown.
Once you have your materials gathered, it’s time to set up your DIY bowling lane and let the games begin! Arrange your pins at the end of the bowling lane, spaced evenly apart, and let your little one take turns rolling the ball and knocking them down.
Don’t forget to get creative with your decorations! Add colorful tape or stickers to the bowling lane to make it visually appealing, and encourage your child to come up with their own imaginative designs.
With your DIY bowling lane all set up and ready to go, you’re sure to enjoy hours of rolling fun with your little ones. So grab your ball, line up your pins, and let the good times roll!
Bowling Pin Alternatives
When it comes to creating a toddler-friendly bowling experience at home, one of the key considerations is choosing the right bowling pins. While traditional bowling pins may be too heavy or cumbersome for little ones, there are plenty of creative alternatives that are safe, lightweight, and, most importantly, fun!
Let’s explore some of the most popular bowling pin alternatives that are perfect for pint-sized bowlers:
- Stacking Cups: One of the simplest and most versatile alternatives to traditional bowling pins is stacking cups. These colorful cups are lightweight, easy for little hands to grip, and can be stacked up to create a makeshift bowling pin setup. Plus, they double as a fun stacking and building toy when the bowling game is over!
- Cardboard Tubes: Another budget-friendly option is using cardboard tubes from paper towel rolls or wrapping paper. Simply line up the tubes in a row to create your bowling pins, and let your little one knock them down with a soft ball. For added stability, you can fill the tubes with a bit of rice or sand.
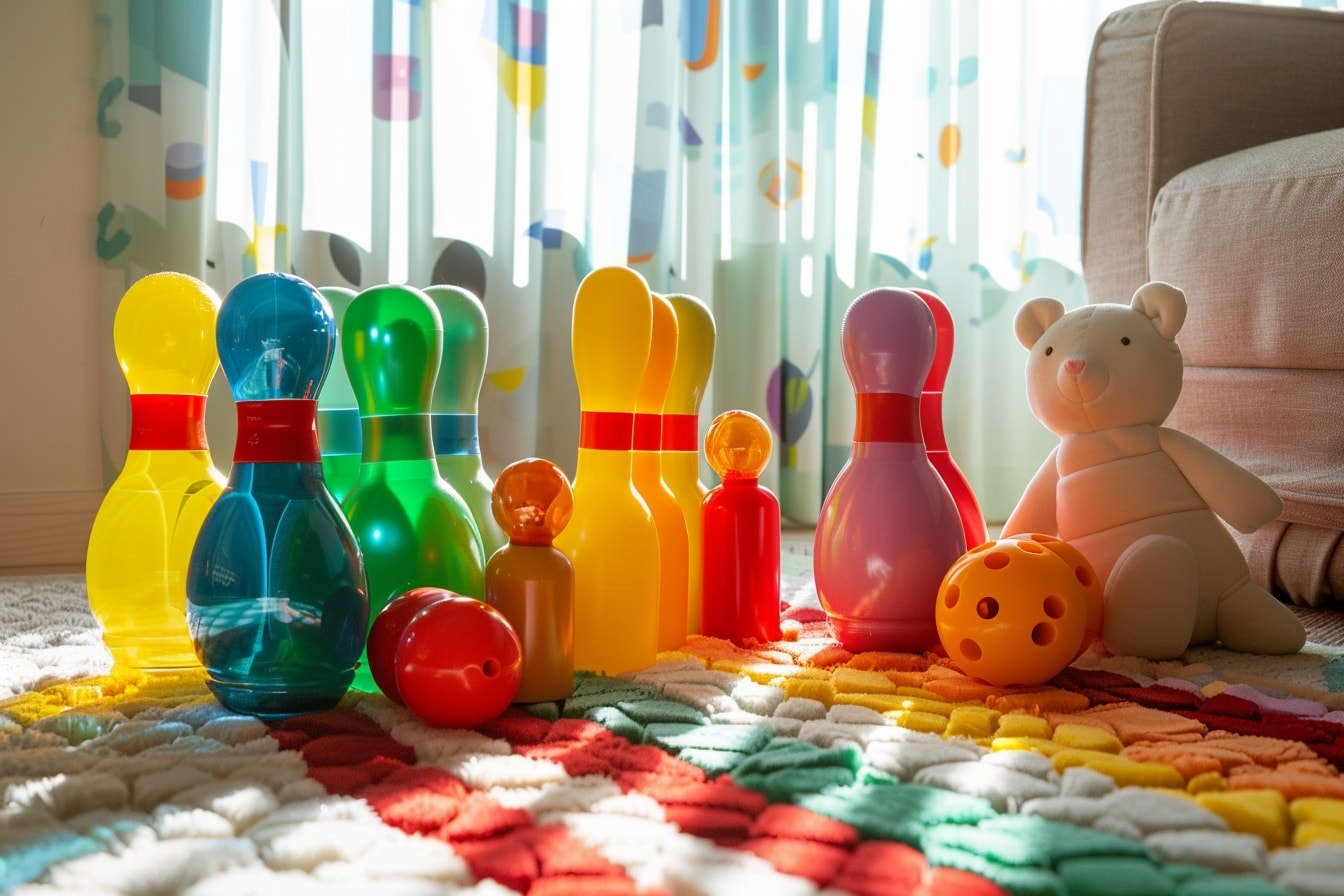
- Stuffed Animals: For a whimsical twist on traditional bowling, why not use stuffed animals as bowling pins? Line up your child’s favorite plush toys at the end of the bowling lane and watch as they delight in knocking them over. This option not only provides a fun bowling experience but also doubles as a cuddly playtime activity.
Now, you might be wondering: why go to the trouble of finding alternatives to traditional bowling pins? The answer is simple: safety and accessibility. By choosing lightweight and soft materials for your bowling pins, you can rest assured that your little one can play safely without any risk of injury. Plus, these alternative options are easy to find around the house or at your local dollar store, making them a budget-friendly choice for busy parents.
So whether you opt for stacking cups, cardboard tubes, or stuffed animals, rest assured that your DIY bowling game will be a hit with your little ones. Get creative, have fun, and enjoy making memories together as you knock down pins and celebrate each strike!
Adapting the Game for Toddlers
Now that you have your DIY bowling lane all set up and ready to go, it’s time to adapt the game to make it just right for your little ones. While traditional bowling rules may be a bit too complex for toddlers to grasp, there are plenty of ways to simplify the game and tailor it to their developmental needs and interests.
Here are some tips for adapting the game of bowling for toddlers:
- Adjust the Distance: Toddlers may not have the strength or coordination to roll the ball a long distance, so consider shortening the length of the bowling lane to make it more manageable for them. You can also move the pins closer to the bowling line to increase their chances of success.
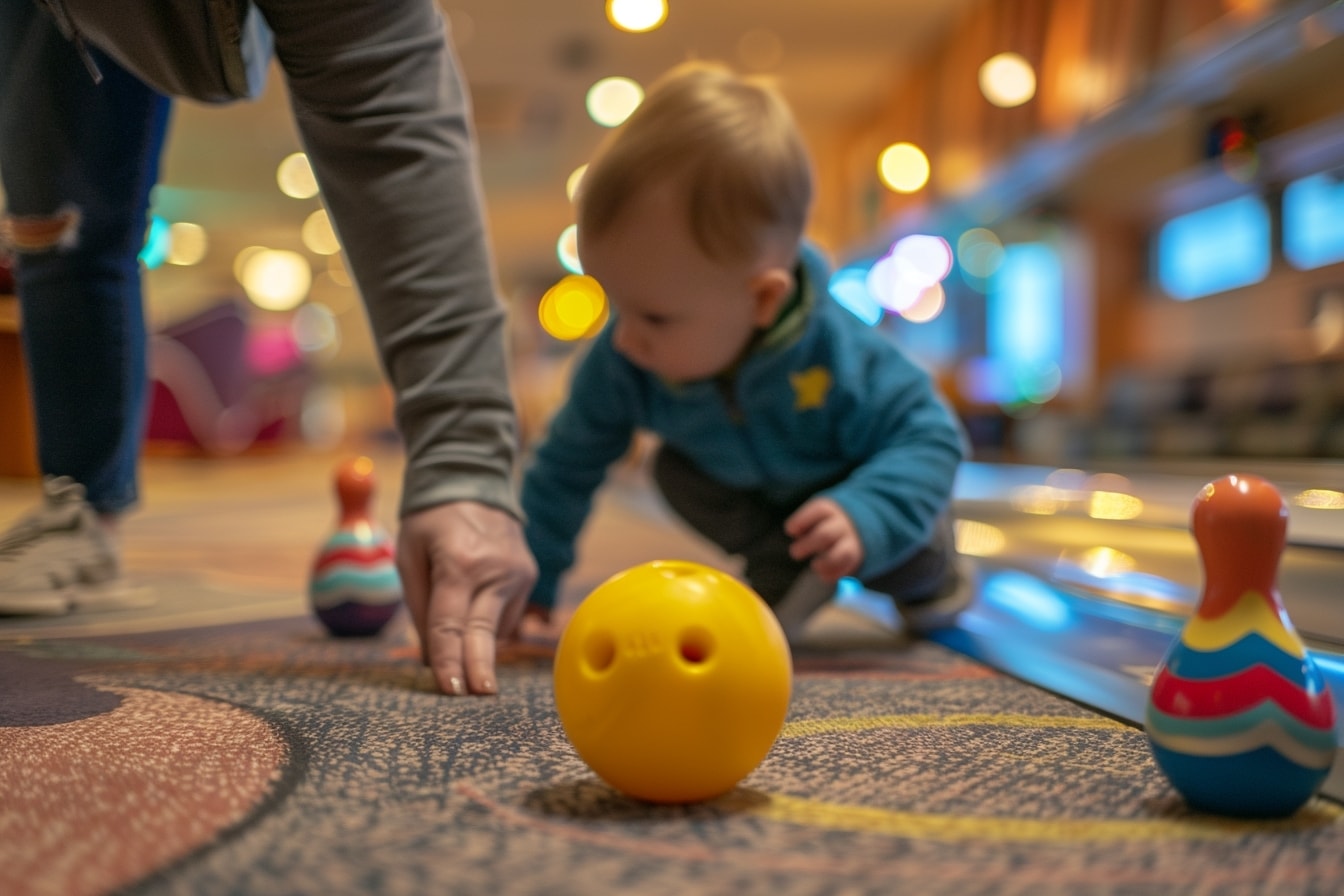
- Encourage Guided Rolling: Instead of expecting toddlers to roll the ball with precision, encourage them to use a gentle underhand toss or even push the ball along the ground with their hands. This can help build confidence and coordination while still allowing them to participate in the game.
- Focus on Fun, Not Rules: Toddlers thrive on exploration and imagination, so don’t worry too much about enforcing strict rules during your DIY bowling game. Instead, focus on creating a playful and supportive environment where your child can experiment with different ways of knocking down the pins.
Another important aspect of adapting the game for toddlers is providing plenty of opportunities for sensory exploration and learning. You can incorporate sensory elements into the game by using brightly colored pins or adding textured materials to the bowling lane, such as foam mats or fabric scraps.
Additionally, consider introducing simple counting and color recognition activities into the game to help reinforce early math and language skills. You can ask your child to count the number of pins they knock down or identify the colors of the pins as they play.
But perhaps the most important aspect of adapting the game for toddlers is simply being present and engaged as they play. Take the time to celebrate their successes, offer gentle guidance when needed, and above all, enjoy the precious moments spent together as you bowl, laugh, and create memories that will last a lifetime.
Safety Measures and Precautions
When it comes to creating a DIY bowling game for toddlers, safety is paramount. While the game is meant to be fun and engaging, it’s important to take proactive steps to ensure that your little ones can play safely and without any risk of harm. Here are some key safety measures and precautions to keep in mind:
- Choose Safe Materials: When selecting materials for your DIY bowling game, opt for options that are soft, lightweight, and free of any potential hazards. Avoid using heavy or breakable objects that could cause injury if accidentally dropped or thrown.
- Clear the Playing Area: Before starting the game, take a few moments to clear the playing area of any obstacles or tripping hazards. Remove any furniture, toys, or other objects that could get in the way of your child’s movements or pose a safety risk.
- Supervise at All Times: While toddlers may be eager to explore and play independently, it’s important for parents or caregivers to supervise them closely during the bowling game. Keep a watchful eye on your child to ensure they are playing safely and following any guidelines or instructions you’ve provided.
In addition to these general safety measures, there are a few specific precautions you can take to minimize the risk of accidents or injuries during your DIY bowling game:
- Establish Boundaries: Set clear boundaries for the playing area to help prevent your child from wandering into unsafe areas or getting too close to potential hazards. Use colorful tape or markers to mark off the boundaries of the bowling lane and remind your child to stay within these limits.
- Use Proper Technique: Teach your child the proper technique for rolling the ball and knocking down the pins, emphasizing the importance of using gentle movements and avoiding any sudden or reckless actions. Encourage them to take their time and focus on accuracy rather than speed.
- Practice Safe Handling: Remind your child to handle the bowling ball and pins with care, especially if they are using lightweight or fragile materials. Encourage them to place the ball back in its designated spot after each turn and to avoid throwing or tossing it in a way that could cause injury.
By following these safety measures and precautions, you can create a safe and enjoyable environment for your child to play and explore during your DIY bowling game. Remember to always prioritize your child’s well-being and take any necessary steps to address any safety concerns that may arise. With a little preparation and vigilance, you can ensure that your bowling game is not only fun but also safe for your little ones to enjoy.
Making it Educational and Fun
While the primary goal of a DIY bowling game for toddlers is to provide entertainment and physical activity, it’s also an excellent opportunity to incorporate educational elements and promote learning through play. By engaging your child’s curiosity and imagination, you can turn your bowling game into a fun and enriching experience that stimulates their cognitive, social, and emotional development.
Here are some ideas for making your DIY bowling game both educational and fun:
- Counting Practice: Use the game as an opportunity to practice counting with your child. Encourage them to count the number of pins they knock down with each roll of the ball, helping them develop their counting skills while also reinforcing the concept of one-to-one correspondence.
- Color Recognition: Incorporate color recognition activities into the game by using pins of different colors and encouraging your child to identify and name each color as they play. You can also use colorful tape or markers to create a rainbow-colored bowling lane, providing visual stimulation and promoting color recognition.
- Turn-Taking and Sharing: Use the game to teach important social skills such as turn-taking and sharing. Encourage your child to take turns rolling the ball and setting up the pins, and praise them for their patience and cooperation. This not only promotes positive social interactions but also helps build important skills for future social interactions.
In addition to these educational activities, don’t forget to keep the game fun and engaging for your child by incorporating elements of playfulness and creativity. Encourage your child to come up with their own variations of the game, such as bowling with their favorite toys or using different throwing techniques.
Furthermore, consider incorporating sensory experiences into the game to stimulate your child’s senses and promote sensory exploration. You can use materials such as textured fabrics or scented balls to add tactile and olfactory elements to the game, providing a multi-sensory experience that engages your child’s curiosity and imagination.
By combining educational activities with playful and creative elements, you can create a DIY bowling game that not only entertains your child but also promotes their cognitive, social, and emotional development. So roll up your sleeves, set up your bowling lane, and get ready for a fun-filled adventure that’s as educational as it is enjoyable!
As we reach the end of our DIY toddler-friendly bowling adventure, I hope you’re feeling inspired and excited to bring the joy of bowling into your home. Throughout this journey, we’ve explored the ins and outs of creating a safe, engaging, and educational bowling experience for your little ones, and I’m thrilled to see the smiles and laughter that await you.
But our journey doesn’t end here – in fact, it’s just the beginning! With your newfound knowledge and creativity, the possibilities for indoor fun and learning are endless. Whether you’re setting up a DIY bowling lane, exploring sensory activities, or embarking on imaginative play adventures, remember that the most important thing is to cherish the time you spend with your child and savor each precious moment.
So as you gather your materials, set up your bowling pins, and watch your child’s face light up with excitement, take a moment to appreciate the magic of parenthood and the joy of watching your little one grow and learn. And don’t forget to celebrate every strike, every giggle, and every milestone along the way – because these are the moments that make life truly special.
Thank you for joining me on this journey, and I can’t wait to hear all about your own DIY bowling adventures. Whether you’re knocking down pins, counting strikes, or simply enjoying some quality time together, I hope your bowling game brings you endless fun, laughter, and memories that will last a lifetime.
So until next time, keep rolling, keep laughing, and keep embracing the magic of childhood. After all, there’s nothing quite like the sound of a strike and the sight of a happy, smiling toddler to brighten up your day!
Want to take your knowledge to the next level? Check out these must-read articles:
Organize your baby’s wardrobe with our baby clothes closet organizer products! Our organizers are designed specifically for baby clothes. Get your baby’s clothes neat and tidy with our selection of organizers – shop now!
Step into Sue Brown's World of Baby Care, where you'll find a treasure trove of knowledge and wisdom waiting to be explored. Sue's dedication to providing accurate and up-to-date information on baby care shines through in every article, blog post, and resource she shares. From newborn essentials to sleep training tips, breastfeeding advice to nurturing your baby's development, Sue covers a wide range of topics that are essential for every parent to know. Her warm and compassionate approach creates a sense of community and reassurance, making her website a safe haven for parents seeking guidance and support. Let Sue Brown be your partner in this beautiful journey of parenthood, as she empowers you to create a loving, nurturing, and thriving environment for your little one.
- Indoor Air Quality for Infant Respiratory Health - October 20, 2025
- Positive Discipline Foundations: Setting the Stage From Infancy - October 18, 2025
- 2025’s Most Innovative Baby Products Worth the Investment - October 16, 2025