Table of Contents
ToggleRockin’ Rhythms: Homemade Musical Instruments
Picture this: It’s a warm, sun-kissed afternoon in the heart of the Caribbean, and the air is filled with the infectious rhythms of drums, the melodic twang of string instruments, and the joyful chatter of families gathered together. Music isn’t just a pastime here—it’s a way of life, woven into the fabric of everyday existence, and passed down through generations like a cherished heirloom.
As parents, we’re always on the lookout for ways to spark our children’s imaginations, nurture their creativity, and create lasting memories together. And what better way to do that than through the magic of music? Whether you’re a seasoned musician or someone who’s never picked up an instrument in your life, there’s something undeniably special about the shared experience of making music with loved ones.
But you don’t need fancy instruments or expensive lessons to make beautiful music. In fact, some of the most unforgettable melodies are born right at home, using nothing more than a few household items and a whole lot of imagination. That’s where homemade musical instruments come into play—literally!
In this blog post, we’re going to take a journey into the world of homemade musical instruments, inspired by the rich tapestry of Caribbean culture. We’ll explore the rhythmic beats of homemade drums, the melodic charm of DIY string instruments, the whimsical sounds of homemade wind instruments, and so much more. Along the way, we’ll share practical tips, creative ideas, and personal anecdotes to help you and your family embark on your own musical adventure.
So grab your pots and pans, gather your little ones close, and let’s get ready to rock to the rhythms of homemade musical instruments. Get ready to make memories that will last a lifetime!

Rhythmic Drums from Everyday Objects
Step into the vibrant world of Caribbean music, and you’ll quickly discover that rhythm is the heartbeat of every melody, every dance, and every celebration. From the thunderous beat of the steel pan to the hypnotic pulse of the djembe, drums hold a special place in our hearts and our culture.
But you don’t need fancy, store-bought drums to experience the thrill of rhythmic percussion. In fact, some of the most captivating beats can be created right in your own home, using nothing more than a few everyday objects and a sprinkle of creativity.
So, let’s dive into the wonderful world of homemade drums and discover how you can transform ordinary household items into musical masterpieces!
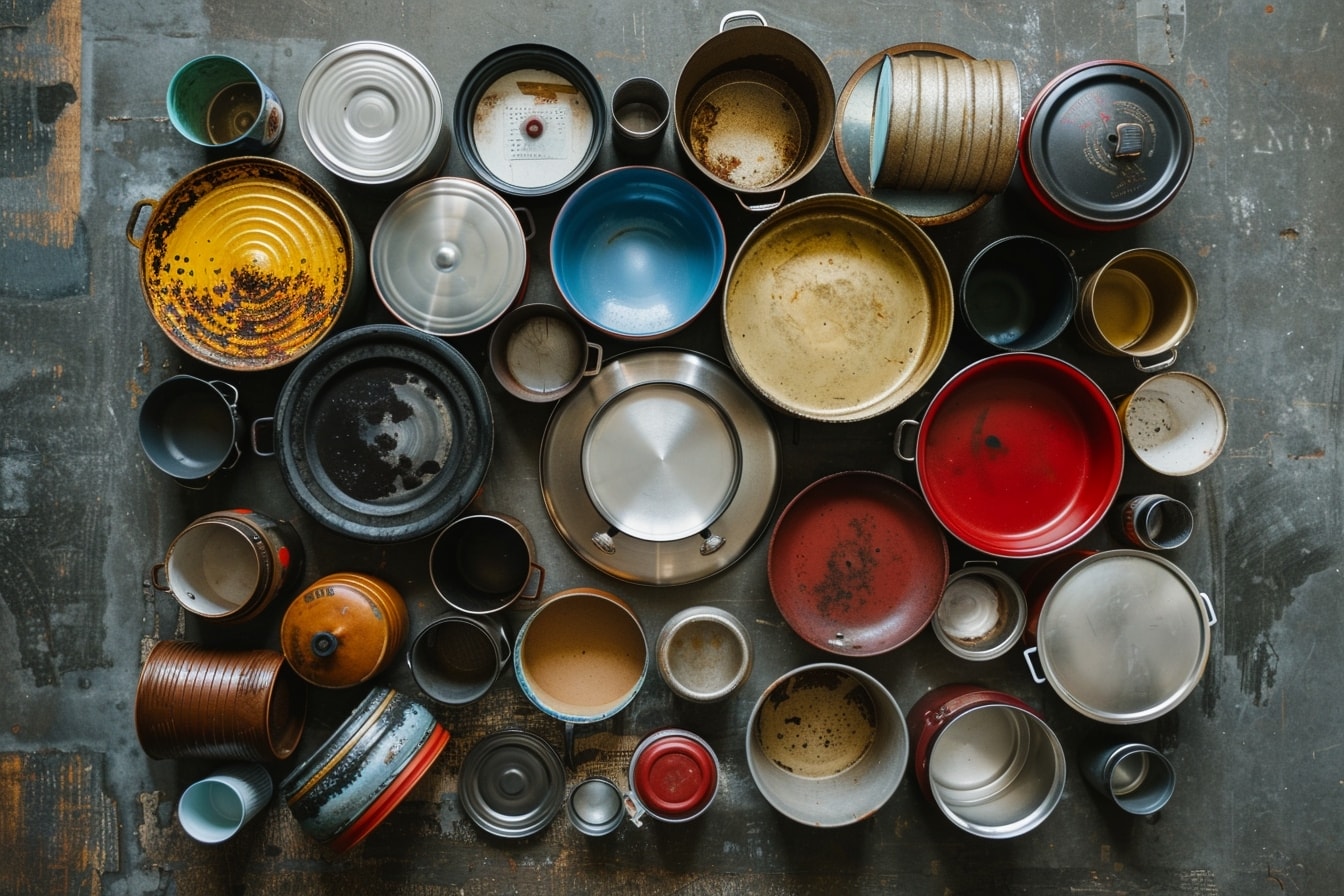
- Start with the Basics: Look around your kitchen, and you’ll find a treasure trove of potential drumming materials. Pots, pans, and plastic containers of all shapes and sizes can be repurposed into drums with just a few simple modifications.
- Get Creative with Materials: Don’t be afraid to think outside the box when it comes to drumming materials. Experiment with different textures and densities to create a diverse range of sounds. For example, a metal mixing bowl will produce a sharp, metallic clang, while a plastic tub will yield a deeper, more resonant tone.
- Focus on Technique: Once you’ve chosen your drumming materials, it’s time to perfect your technique. Whether you’re using your hands, wooden spoons, or makeshift drumsticks, focus on achieving a steady rhythm and consistent beat. Encourage your little ones to experiment with different hand positions and striking techniques to discover their own unique sound.
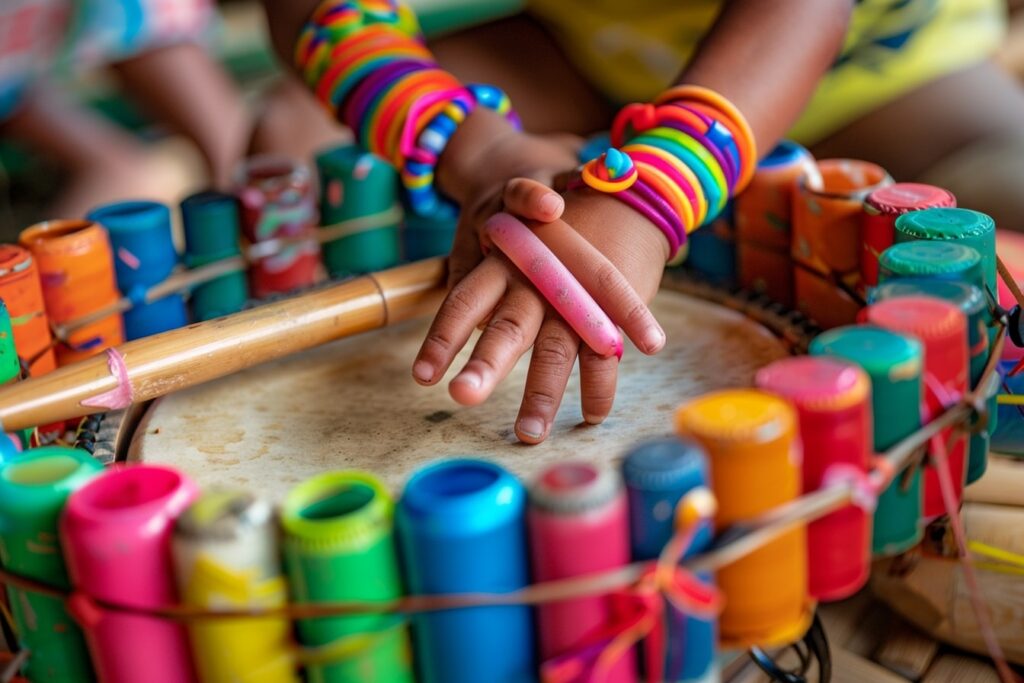
- Add Some Flair: Who says homemade drums can’t be stylish? Let your imagination run wild as you decorate your drums with colorful paint, stickers, or ribbons. Not only will this add visual appeal to your instruments, but it will also provide a fun creative outlet for you and your family.
- Join the Jam: Once your homemade drums are ready to rock, gather your family and friends for an impromptu jam session. Let the music flow freely as you take turns improvising, experimenting, and exploring the rhythmic possibilities of your homemade instruments. Who knows—you might just discover the next big hit!
With a little creativity and a lot of passion, homemade drums have the power to transport you to a world of rhythm and melody, where the only limit is your imagination. So grab your drumming materials, unleash your inner percussionist, and let’s make some music!

Melodic Maracas and Shakers
Close your eyes and listen closely: the sound of maracas fills the air, a rhythmic accompaniment to the lively beats of Caribbean music. These humble percussion instruments may look simple, but their melodic charm has the power to captivate audiences and get toes tapping in no time.
But did you know that you can make your own maracas right at home, using nothing more than a few household items and a sprinkle of creativity? That’s right—get ready to shake, rattle, and roll with homemade maracas that are as unique as they are musical!
- Choose Your Base: When it comes to making homemade maracas, the possibilities are endless. Start by selecting a base for your shaker, such as a plastic bottle, an empty egg carton, or a small cardboard tube. Each material will produce a different sound, so don’t be afraid to experiment until you find the perfect fit.
- Add Some Filling: Next, it’s time to fill your maracas with something that will create that satisfying shaking sound. Dried beans, rice, or even small pebbles are popular choices, but feel free to get creative with your fillings. Just be sure to seal your maracas tightly to prevent any spills!
- Get Crafty: Once your maracas are filled and sealed, it’s time to add some personality. Break out the paint, glitter, and stickers, and let your imagination run wild as you decorate your maracas to reflect your unique style. Whether you opt for bold, vibrant colors or intricate designs, the sky’s the limit when it comes to creativity.
- Experiment with Sound: Don’t be afraid to experiment with different fillings and sealants to achieve the perfect sound for your homemade maracas. Try adding more or less filling to adjust the volume and tone, or experiment with different materials for the shell to alter the resonance. The beauty of homemade maracas is that you have complete control over the final product!
- Shake, Rattle, and Roll: With your homemade maracas in hand, it’s time to put them to the test. Gather your family and friends, crank up your favorite Caribbean tunes, and let the music move you as you shake, rattle, and roll to the beat. Whether you’re jamming in the living room or taking your homemade maracas on the road, one thing’s for sure: you’re in for a musical adventure like no other!
With just a few simple materials and a whole lot of creativity, you can create homemade maracas that are sure to impress. So grab your crafting supplies, put on your favorite playlist, and let’s get ready to make some music!

Strumming Sounds: DIY String Instruments
Close your eyes and imagine the soulful melodies of a Caribbean guitar drifting through the air, carrying with it the unmistakable rhythm and charm of island life. String instruments have long been a cornerstone of Caribbean music, adding depth, richness, and emotion to every composition.
But you don’t need to be a master luthier or have a fancy instrument to experience the joy of strumming strings. In fact, with just a few simple materials and a touch of creativity, you can create your very own DIY string instruments right at home!
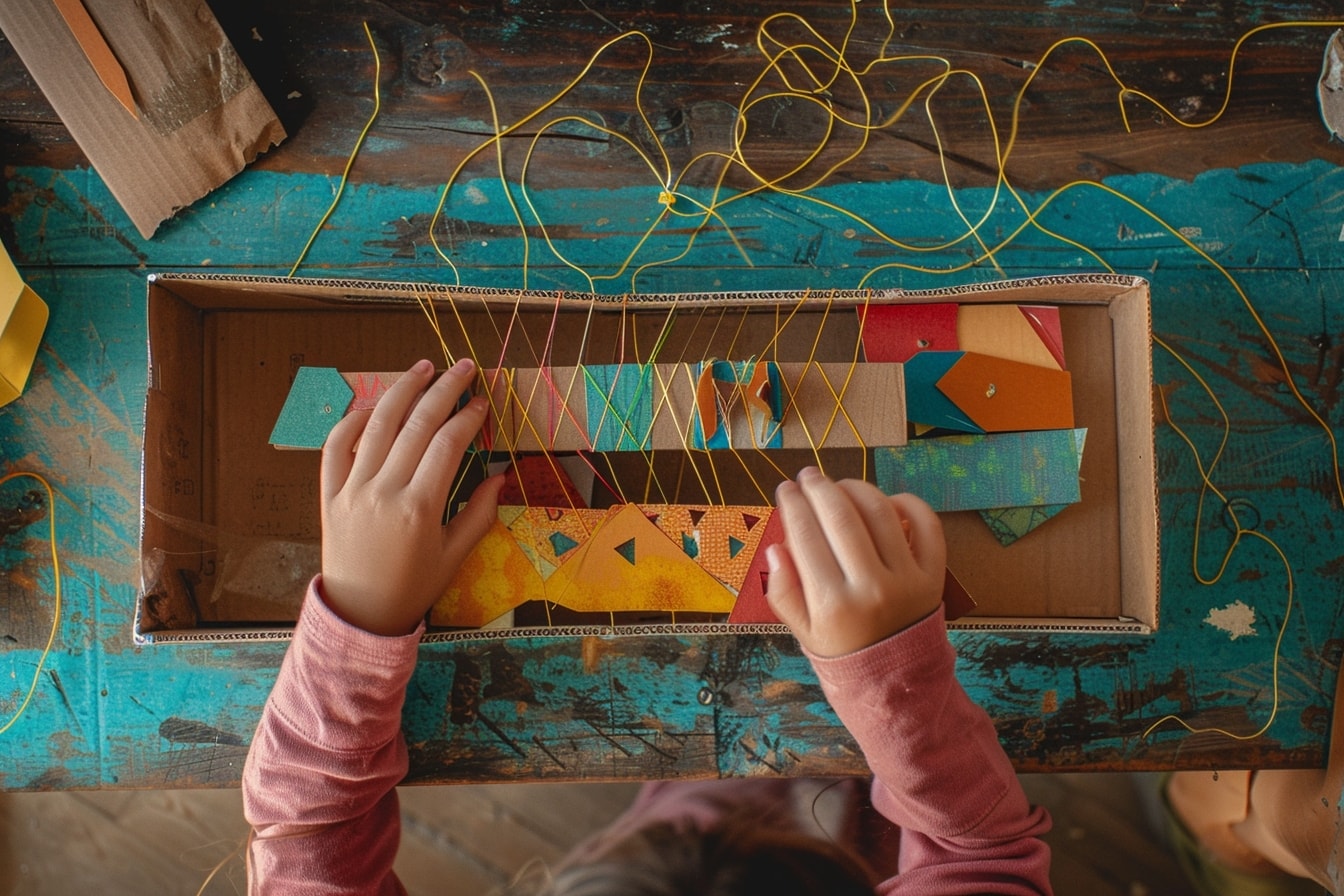
- Start with a Base: The beauty of DIY string instruments lies in their simplicity. Begin by selecting a base for your instrument, such as a sturdy piece of cardboard, a wooden plank, or even an empty tissue box. The size and shape of your base will determine the overall sound and feel of your instrument, so choose wisely!
- Add Some Strings: Once you’ve chosen your base, it’s time to add some strings. Stretch rubber bands of varying thicknesses across your base, securing them tightly at each end. Experiment with different tensions and arrangements to achieve the desired pitch and tone for your instrument. You can also get creative with your string choices, using materials like fishing line, yarn, or even dental floss for a unique sound.
- Get Tuning: Tuning your DIY string instrument is a crucial step in achieving the perfect sound. Use a tuner or piano to guide you as you adjust the tension of each string, aiming for the correct pitch and harmony. Don’t be afraid to experiment with different tunings and intervals to find the sound that resonates with you.
- Embrace the Imperfections: One of the joys of DIY string instruments is their rustic charm and imperfect beauty. Embrace the quirks and idiosyncrasies of your homemade creation, celebrating each scratch, scuff, and off-key note as a testament to your creativity and resourcefulness.
- Strum Away: With your DIY string instrument complete, it’s time to let your fingers do the talking. Whether you’re strumming gentle chords, picking out intricate melodies, or simply experimenting with different sounds and techniques, let the music flow freely as you lose yourself in the rhythms of the Caribbean.
With a little ingenuity and a whole lot of passion, DIY string instruments have the power to transport you to a world of musical wonder, where the only limit is your imagination. So gather your materials, unleash your creativity, and let’s get ready to make some beautiful music together!

Wind Whistles and Flutes
Close your eyes and imagine the gentle rustle of palm trees, the rhythmic crash of waves, and the haunting melody of a Caribbean flute floating on the breeze. Wind instruments have a special place in Caribbean music, evoking the natural beauty and tranquility of the islands with every note.
But you don’t need to be a master craftsman or a seasoned musician to experience the magic of wind instruments. In fact, with just a few simple materials and a touch of creativity, you can create your very own wind whistles and flutes right at home!
- Start with the Basics: The key to crafting homemade wind instruments lies in understanding the principles of airflow and resonance. Begin by selecting a suitable material for your instrument, such as a sturdy drinking straw, a bamboo stick, or a piece of PVC pipe. Each material will produce a different sound and tone, so experiment until you find the perfect fit.
- Carve and Shape: Once you’ve chosen your material, it’s time to carve and shape it into the desired form. Use a sharp knife or scissors to carefully cut holes and openings along the length of your instrument, taking care to space them evenly and size them appropriately for optimal airflow. This process may require some trial and error, so don’t be afraid to make adjustments as needed.
- Add Some Embellishments: With the basic structure of your wind instrument complete, it’s time to add some personal flair. Decorate your flute or whistle with colorful beads, feathers, or paint, reflecting your unique style and personality. Not only will this add visual appeal to your instrument, but it will also imbue it with a sense of character and charm.
- Practice Makes Perfect: Learning to play a wind instrument takes time, patience, and practice. Start by experimenting with different finger positions and airflow techniques, gradually refining your skills and mastering the nuances of your homemade creation. Don’t be discouraged by initial setbacks or imperfect notes—every musician starts somewhere!
- Share the Joy: Once you’ve honed your skills, don’t keep the joy of music to yourself. Share your homemade wind instrument with family and friends, inviting them to join you in impromptu jam sessions or outdoor concerts. Whether you’re serenading loved ones on a lazy Sunday afternoon or entertaining passersby at the park, the magic of homemade music is meant to be shared.
With a little creativity and a whole lot of passion, homemade wind instruments have the power to transport you to a world of musical wonder, where the gentle whisper of a flute or the playful trill of a whistle can evoke the sights, sounds, and sensations of the Caribbean. So gather your materials, unleash your imagination, and let’s get ready to make some beautiful music together!

Creative Collaborations: Making Music Together
Imagine a scene where laughter fills the air, hands clap in rhythm, and voices harmonize in perfect unity. This isn’t just a concert—it’s a family jam session, where the joy of making music together transcends age, skill level, and background. In the Caribbean, music isn’t just a solo endeavor—it’s a communal experience, where families and friends come together to celebrate life, love, and the power of creativity.
But you don’t need to be a professional musician or have a fancy studio to experience the magic of collaborative music-making. In fact, some of the most memorable musical moments happen right at home, in the company of loved ones, using nothing more than the instruments of your imagination.
- Set the Stage: Creating a musical space in your home is the first step towards fostering a culture of collaboration. Clear out a corner of the living room, deck out the backyard with blankets and cushions, or designate a special jam room where family members can come together to make music whenever inspiration strikes.
- Choose Your Instruments: From homemade drums and maracas to DIY string instruments and wind whistles, there’s no shortage of musical tools at your disposal. Encourage each family member to choose their instrument of choice, whether it’s strumming a makeshift guitar, shaking homemade shakers, or blowing on a DIY flute. The key is to create a diverse ensemble that reflects the unique talents and interests of each participant.
- Embrace the Jam: The beauty of family jam sessions lies in their spontaneity and creativity. Set aside time each week for impromptu music-making sessions, where family members can come together to explore, experiment, and collaborate on new musical ideas. Whether you’re improvising a new melody, rearranging a classic tune, or composing an original song, let the music flow freely as you feed off each other’s energy and enthusiasm.
- Document Your Journey: Capture the magic of your family jam sessions by documenting your musical journey. Take photos and videos of your jam sessions, record your original compositions, and create a musical scrapbook or video montage to preserve your memories for years to come. Not only will this provide a tangible record of your musical adventures, but it will also serve as a source of inspiration and motivation for future collaborations.
- Share the Love: Don’t keep the joy of family music-making to yourself—share it with the world! Invite friends and neighbors to join your jam sessions, organize community concerts or backyard performances, or participate in local music festivals and events. The more you share your love of music with others, the stronger your bonds will become, and the richer your musical experiences will be.
With a spirit of creativity, collaboration, and shared passion, family jam sessions have the power to strengthen bonds, foster creativity, and create lasting memories that will be cherished for a lifetime. So gather your loved ones, grab your instruments, and let’s get ready to make some beautiful music together!
As we come to the end of our musical journey, I hope you’re feeling inspired, energized, and ready to embark on your own creative adventures with homemade musical instruments. From the rhythmic beats of homemade drums to the melodic charm of DIY string instruments and the whimsical sounds of wind whistles and flutes, we’ve explored a world of musical possibilities that knows no bounds.
But our journey doesn’t end here—it’s just the beginning of a lifelong love affair with music that will continue to enrich and inspire us for years to come. As you gather your materials, unleash your creativity, and make beautiful music with your loved ones, remember the power of collaboration, community, and shared passion to transform ordinary moments into extraordinary memories.
- Keep the Beat Alive: As you go forth into the world, keep the beat alive in your heart and your home. Whether you’re drumming on pots and pans in the kitchen, strumming homemade guitars in the backyard, or serenading loved ones with homemade flutes on lazy Sunday afternoons, let the music be your guide and your constant companion.
- Share Your Story: Don’t keep your musical adventures to yourself—share them with the world! Whether you’re posting videos of your jam sessions on social media, writing blog posts about your creative process, or organizing community music events, let your passion for music shine bright and inspire others to join in the fun.
- Embrace the Journey: Remember that the beauty of music lies not just in the final product, but in the journey of creation itself. Embrace the ups and downs, the highs and lows, and the moments of pure magic that come from making music with loved ones. Each note played, each beat struck, and each melody sung is a testament to the power of creativity, collaboration, and connection.
- Keep Exploring: Finally, don’t be afraid to keep exploring, experimenting, and pushing the boundaries of your musical imagination. Whether you’re delving into new genres, learning new instruments, or composing your own original compositions, the world of music is vast and limitless, just waiting for you to make your mark.
So as we bid farewell to our musical journey together, let’s carry the rhythms, melodies, and memories we’ve created with us wherever we go. Let’s continue to make music, make memories, and make magic with homemade musical instruments, celebrating the joy of creativity and the power of music to unite us all.
Want to take your knowledge to the next level? Check out these must-read articles:
Organize your baby’s wardrobe with our baby clothes closet organizer products! Our organizers are designed specifically for baby clothes. Get your baby’s clothes neat and tidy with our selection of organizers – shop now!
Step into Sue Brown's World of Baby Care, where you'll find a treasure trove of knowledge and wisdom waiting to be explored. Sue's dedication to providing accurate and up-to-date information on baby care shines through in every article, blog post, and resource she shares. From newborn essentials to sleep training tips, breastfeeding advice to nurturing your baby's development, Sue covers a wide range of topics that are essential for every parent to know. Her warm and compassionate approach creates a sense of community and reassurance, making her website a safe haven for parents seeking guidance and support. Let Sue Brown be your partner in this beautiful journey of parenthood, as she empowers you to create a loving, nurturing, and thriving environment for your little one.
- Indoor Air Quality for Infant Respiratory Health - October 20, 2025
- Positive Discipline Foundations: Setting the Stage From Infancy - October 18, 2025
- 2025’s Most Innovative Baby Products Worth the Investment - October 16, 2025


